Peonies and Limes Centerpiece DIY

The stylish Mandy Kellogg Rye of Waiting on Martha created the most gorgeous centerpiece of peonies, key limes, and greenery for the summer issue of Delighted. Follow the step-by-step instructions below to make your own statement piece for your next event.

Follow Waiting on Martha on Facebook, Twitter, Instagram, and Pinterest
Photos by Rustic White Photography


SUPPLIES
Peonies
Euca Willow
Greeny Dianthus Barb
Viumum Opulus
Key Limes
Tape
Floral Scissors
Foam Oasis Bricks or Individual Vases
Skewers or Plant Stakes (kabob skewers from the grocery store work!)
Large Vase (Pottery Barn's Whittier Mercury Glass Vase is used here)

STEPS
1. Fill the vase with warm water. Warm water helps to speed along the blooming process which helps if your peonies are not yet open.
2. Apply tape to the top of your vase in a large criss-cross pattern. If you are using a smaller vase, this step isn't necessary.
3. Trim the leaves off of the peonies, only leaving a few at the top of the flower. Then trim the height of the peonies to fit your vase size. You want them to fill the vase as evenly as possible. When cutting flowers, always cut on a 45-degree angle and above the nodes or joints.
4. Place peonies evenly into the criss-cross tape pattern on your vase.
5. Trim the dianthus and viumum opulus and begin placing into the holes between the peonies. The stems of the viumum opulus may not touch the water, so you can either fill individual vessels full of water for these or soak your foam oasis brick in water and position it high enough in the vase to allow the stems to reach it.
6. Skewer the limes onto the skewers or plant stakes and place into the vase through the arrangement.
7. Cut 1-2 stems of euca willow, then carefully lift the peonies and insert them into the front of the vase.

Note: Depending on how open your peonies are, this arrangement should last 4-8 days.

Colorful Summer Centerpiece DIY

Create these cheerful, striped centerpieces with just a few supplies. The finished product will make a darling addition to your next outdoor party table setting. Thank you to Stacey of The Sunday Sparkle for the tutorial and photos! See the full feature in the summer issue of Delighted.

Follow The Sunday Sparkle on Facebook and Pinterest

SUPPLIES
Mod Podge
Paint Brush
Glass Bottles (try these from Shop Sweet Lulu)
Embroidery Twine (from you local craft store)

DIRECTIONS
1. With your paintbrush, add a thin coat of mod podge to the glass surface.
 2. Cut a long strand of twine in your desired color. The length depends on how wide and how think you want your stripe. You can always add or cut your strand.
3. Place strand end in your glue, press down with your finger. Begin wrapping around the bottle, making sure your strands lay right next to each other to create a smooth look.
4. Finish your strand by adding a bit more glue to the end and press down firmly for a few seconds. 
5. Continue the process till you are finished and allow the glue to set before adding flowers.
6. Add as many colors as you desire, starting and ending the wrapping process in the same way.

Note: The twine can be reused for another project by carefully removing it from the glass bottle. Then soak the glass bottles and scrub off the mod podge glue. 

Discovery: Maps of Imaginary Places

Happy Friday! I came across Christina Panarese's shop Maps of Imaginary Places yesterday while on Etsy and just had to share her great designs with you. Vibrant color and straight lines on pillow covers and iPhone cases? Fabulous! You can purchase her designs in her Etsy shop and on her website.


And quick reminder: today is the last day to enter our giveaway for entertaining goodies from Crate & Barrel, Anthro, and more! Enter HERE.

Home Tour: Marcus Design Inc

Today I have the pleasure of sharing Nancy Marcus' lovely home and with you. See the full feature in the spring issue of Delighted. And stop by her blog at Marcus Design Inc. for more of her decorating finds.
How would you describe your design style? 
I've really embraced the term 'Young Traditional,' I adore the traditional look with a modern twist, a room that has been curated over time, a good mix of old and new, with a touch of Hollywood glamour.

What do you love most about decorating? 
I think my favorite part is visiting the wallpaper & fabric stores. I'm like a kid in a candy shop and it gets my wheels turning about the direction of a space.

Where do you look for design inspiration?
Nowadays it's so easy to find inspiration, I subscribe to several print magazines, I read countless online mags and blogs, and I'm constantly re-visiting my favorite designers’ websites for updated projects in their portfolios. Oh, and let's not forget Pinterest; inspiration abounds!

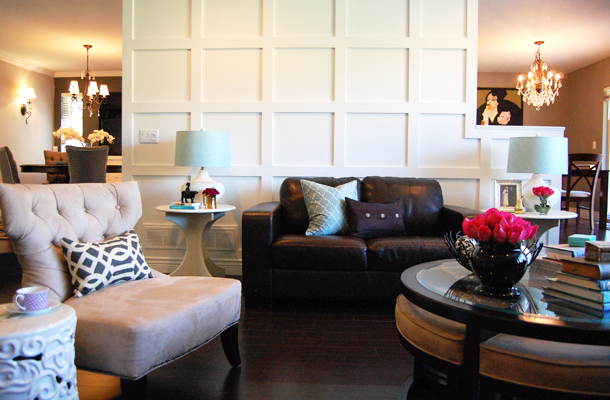
What room in your home is your favorite? 
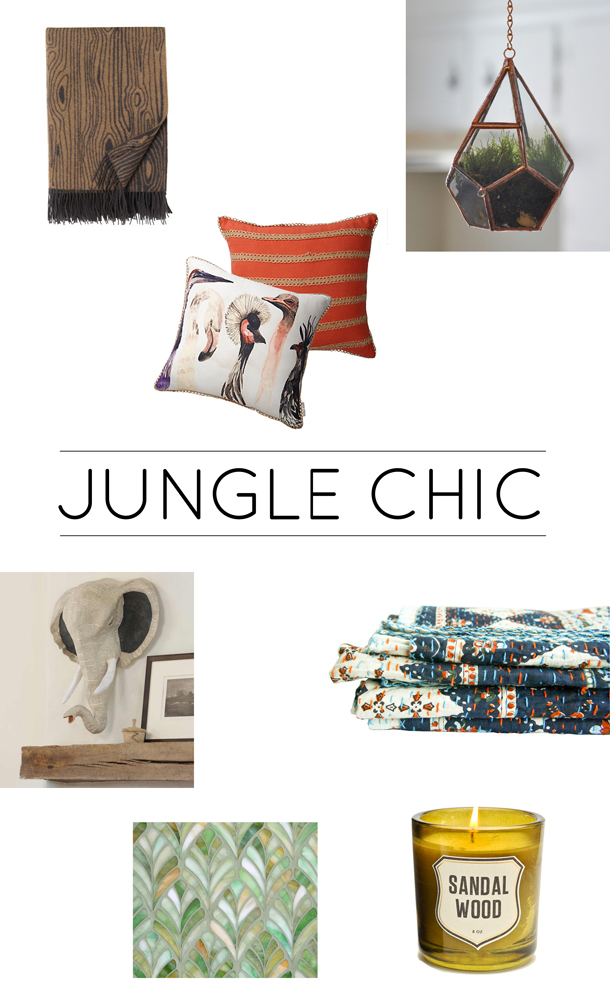
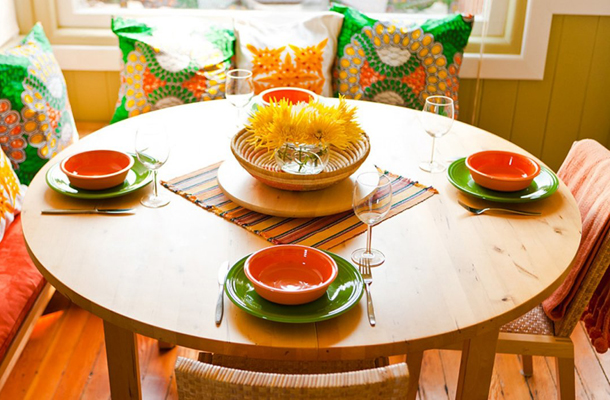
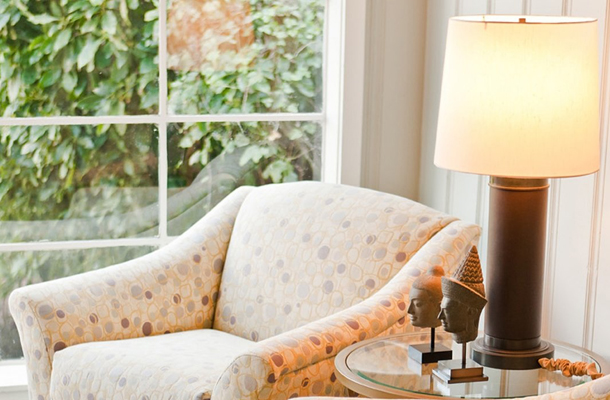
My current favorite room is the living room, the place where my husband and I relax after work, entertain our guests, and snuggle up with a throw and a good movie on weekends. I love that it's a calming space with a bit of color thrown in to spice things up.

What is your favorite piece of furniture or artwork? 
My favorite piece in my home is a white mirrored cabinet I found for a great price. It's pretty to look at and it's currently housing many stacks of magazines that I can't bare to part with - storage is always a bonus!

What pieces do you splurge on? Save on? 
Splurge on items that you use daily. Things you come in contact with all the time need to hold up to wear and tear; like a sofa, your bed, or an office chair. Save on accessories that you know you may grow tired of, like tabletop trinkets and pillows, trendy items or colors to switch up by season.

You've been redecorating your home, room by room. What room did you start with and how did you decide on it? 
I think we come back to my favorite space! The living room is the largest space in the house; it's where people quickly gravitate, so we knew it needed to be welcoming and inviting. We changed lighting and floors immediately, and later added millwork on the walls for an added layer of interest.

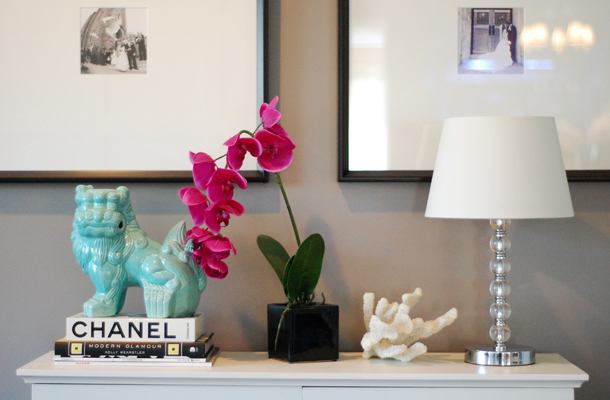
What tip would you recommend to someone wanting to update the look of a room without redoing the whole space? 
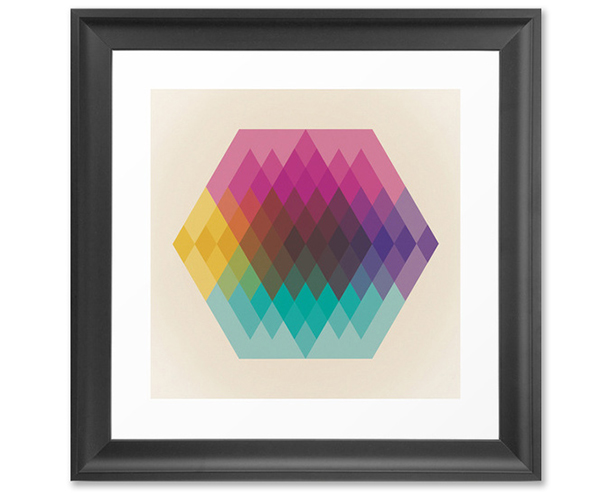
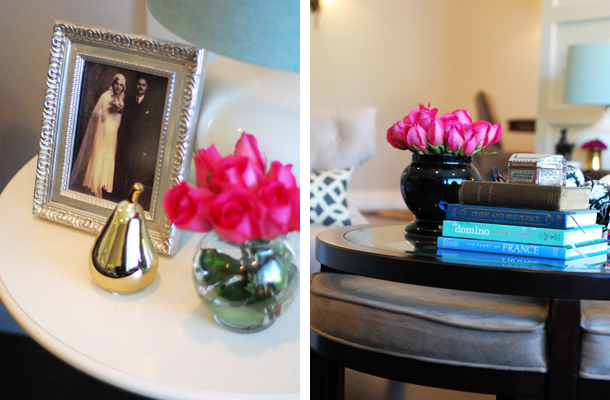
I would suggest first trying to re-think the space; can the furniture arrangement change to better suit your needs? Could items from elsewhere in your home be brought it? And then of course, accessorize. It's amazing what the addition of artwork, fabrics, books, and other inexpensive items can do for a room. Accessories are like jewelry to an outfit, they'll bring added interest through color, texture, and pattern.


Photos by Nancy Marcus
Follow Nancy: Twitter | Facebook | Pinterest