


Here's a creative idea from the talented Madeline Trait of
. A great option for giving a friend flowers on May Day (which is next Wednesday!). See the feature in the spring issue of
.


SUPPLIES
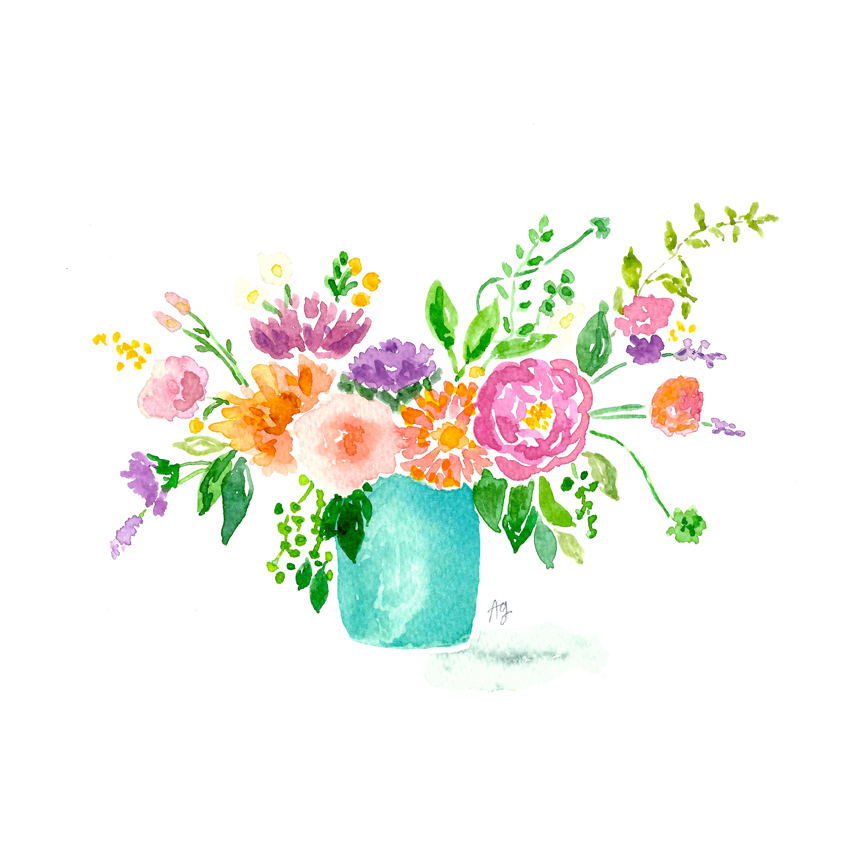
Flowers Choose one to two larger blooms and 2-3 smaller flowers or foliage. Be creative and add dried seed pods, feathers, etc.
Glue Oasis floral adhesive and hot glue
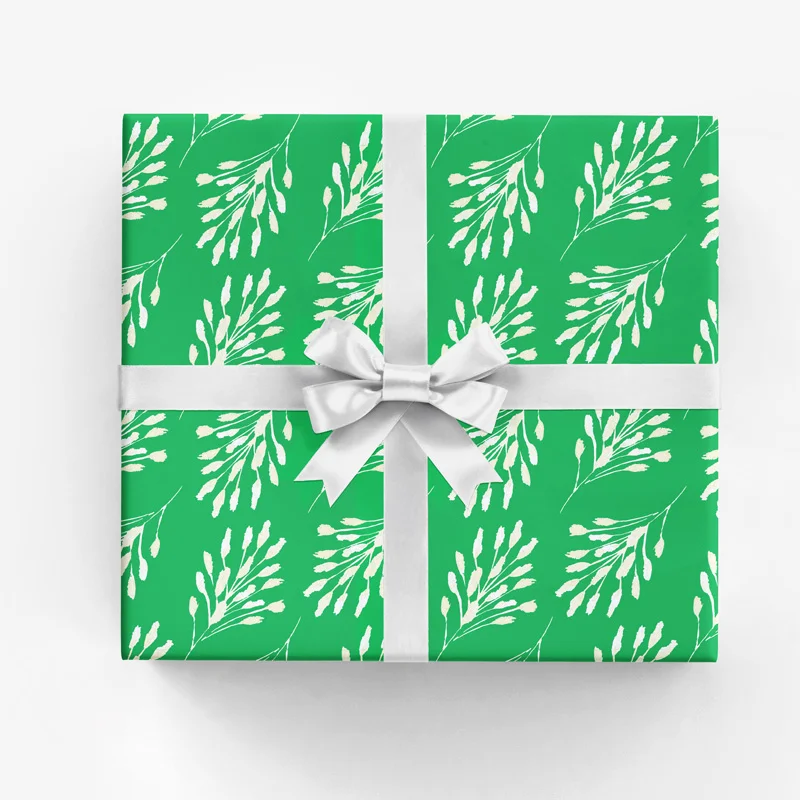
Ribbon Approximately 1 yard
Heavy Fabric Canvas or felt should work. You want something that's going to be stiff and hold its shape.
DIRECTIONS
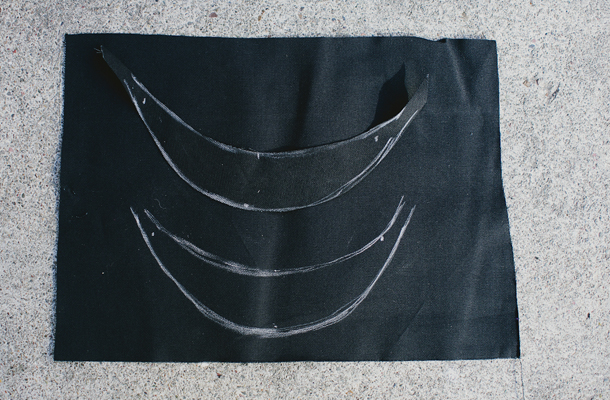
On your fabric, draw a semi-circle shape that is 6-7" wide and not taller than 4". This will be the backing. Try it around your own neck or wrist to be sure it fits well. It should sit just under your collarbone.

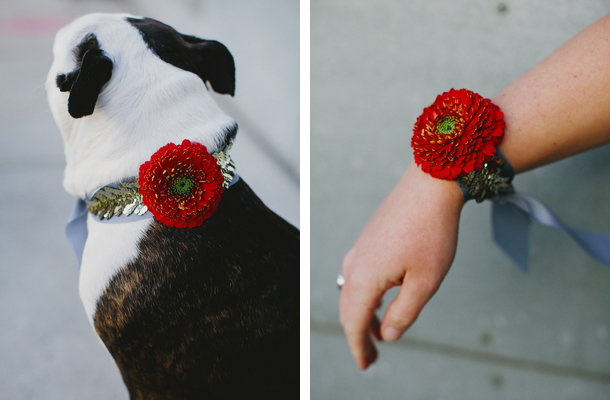
Cut your ribbon into two and tie it to the skinny ends of your fabric. A square not should do. To make sure it holds, add a drop of hot glue to the underside of the ribbon where it touches your fabric backing. This will be your "chain" for your necklace. You can also make the ribbon longer and make a belt out of it or a dog collar for a K-9 friend.

Once you have your backing done, start laying out your flowers and other items on your backing. When you are happy with how it looks, start gluing. Note: floral adhesive can get a bit messy. Try using a toothpick or a small applicator to add glue to your flowers instead of the tube. As you glue the flowers and pods on the fabric, try it on every-once-in-a-while so to ensure it falls correctly on your chest.
Give the flowers a quick spray with water, wrap and deliver! Depending on the flowers you use, your necklace should last a day. If you use flowers that dry nicely, the recipient can dry the piece and wear it all the time!
