My Work: Bouquet Paintings

For the past few weeks I've been painting bouquets as often as I can and have shared many of them on Instagram. For inspiration, I've referenced bouquets in books, magazines, on instagram and pinterest, and fresh flowers on my desk from Trader Joe's (the best!!).

It's been fun painting arrangements in vases, some without, in various color palettes, adding details with color pencils or pen, and exploring different shapes and styles. 

Watercolor Bouquet Arrangement Illustration by artist Amanda Gomes • amandagomes.com
Watercolor Bouquet Arrangement Illustration by Amanda Gomes artist • amandagomes.com
Watercolor Bouquet Arrangement Illustration by artist Amanda Gomes • amandagomes.com
Watercolor Hydrangea Bouquet Arrangement Illustration by Amanda Gomes artist • amandagomes.com
Watercolor Bouquet Arrangement Illustration by artist Amanda Gomes • amandagomes.com
Watercolor Bouquet Arrangement Illustration by Amanda Gomes • amandagomes.com
Watercolor Dahlia Bouquet Arrangement Illustration by Amanda Gomes artist • amandagomes.com
Watercolor Orchid Plant Illustration by artist Amanda Gomes • amandagomes.com
Watercolor Bouquet Arrangement Illustration by artist Amanda Gomes • Photo inspo by Fleur Studio • amandagomes.com

What I'm Learning: Watercolor Supplies

Ahh watercolor. It's been my favorite past time since officially discovering it last September (2016) thanks to Creativebug and Yao Cheng's Beginning Watercolor class.

After a year of watercolor painting, these are the supplies I recommend. A list of paper, watercolor paint, and brushes, along with links on where to find them.

I was on a 6-week sabbatical from work, home with a 3-year old and 1-year old, and had big plans to learn art, in some form or another. Just before my time off, I'd discovered Creativebug and set-up a secret pinterest board titled Art Exploration. I pinned a bunch of interesting classes and worked through a couple of them which were great, especially Lisa Congdon's drawing classes. See my recommended online courses HERE. (I also tried some oil painting on my own without any instruction and that was a disaster! I'll save that story for another time.)

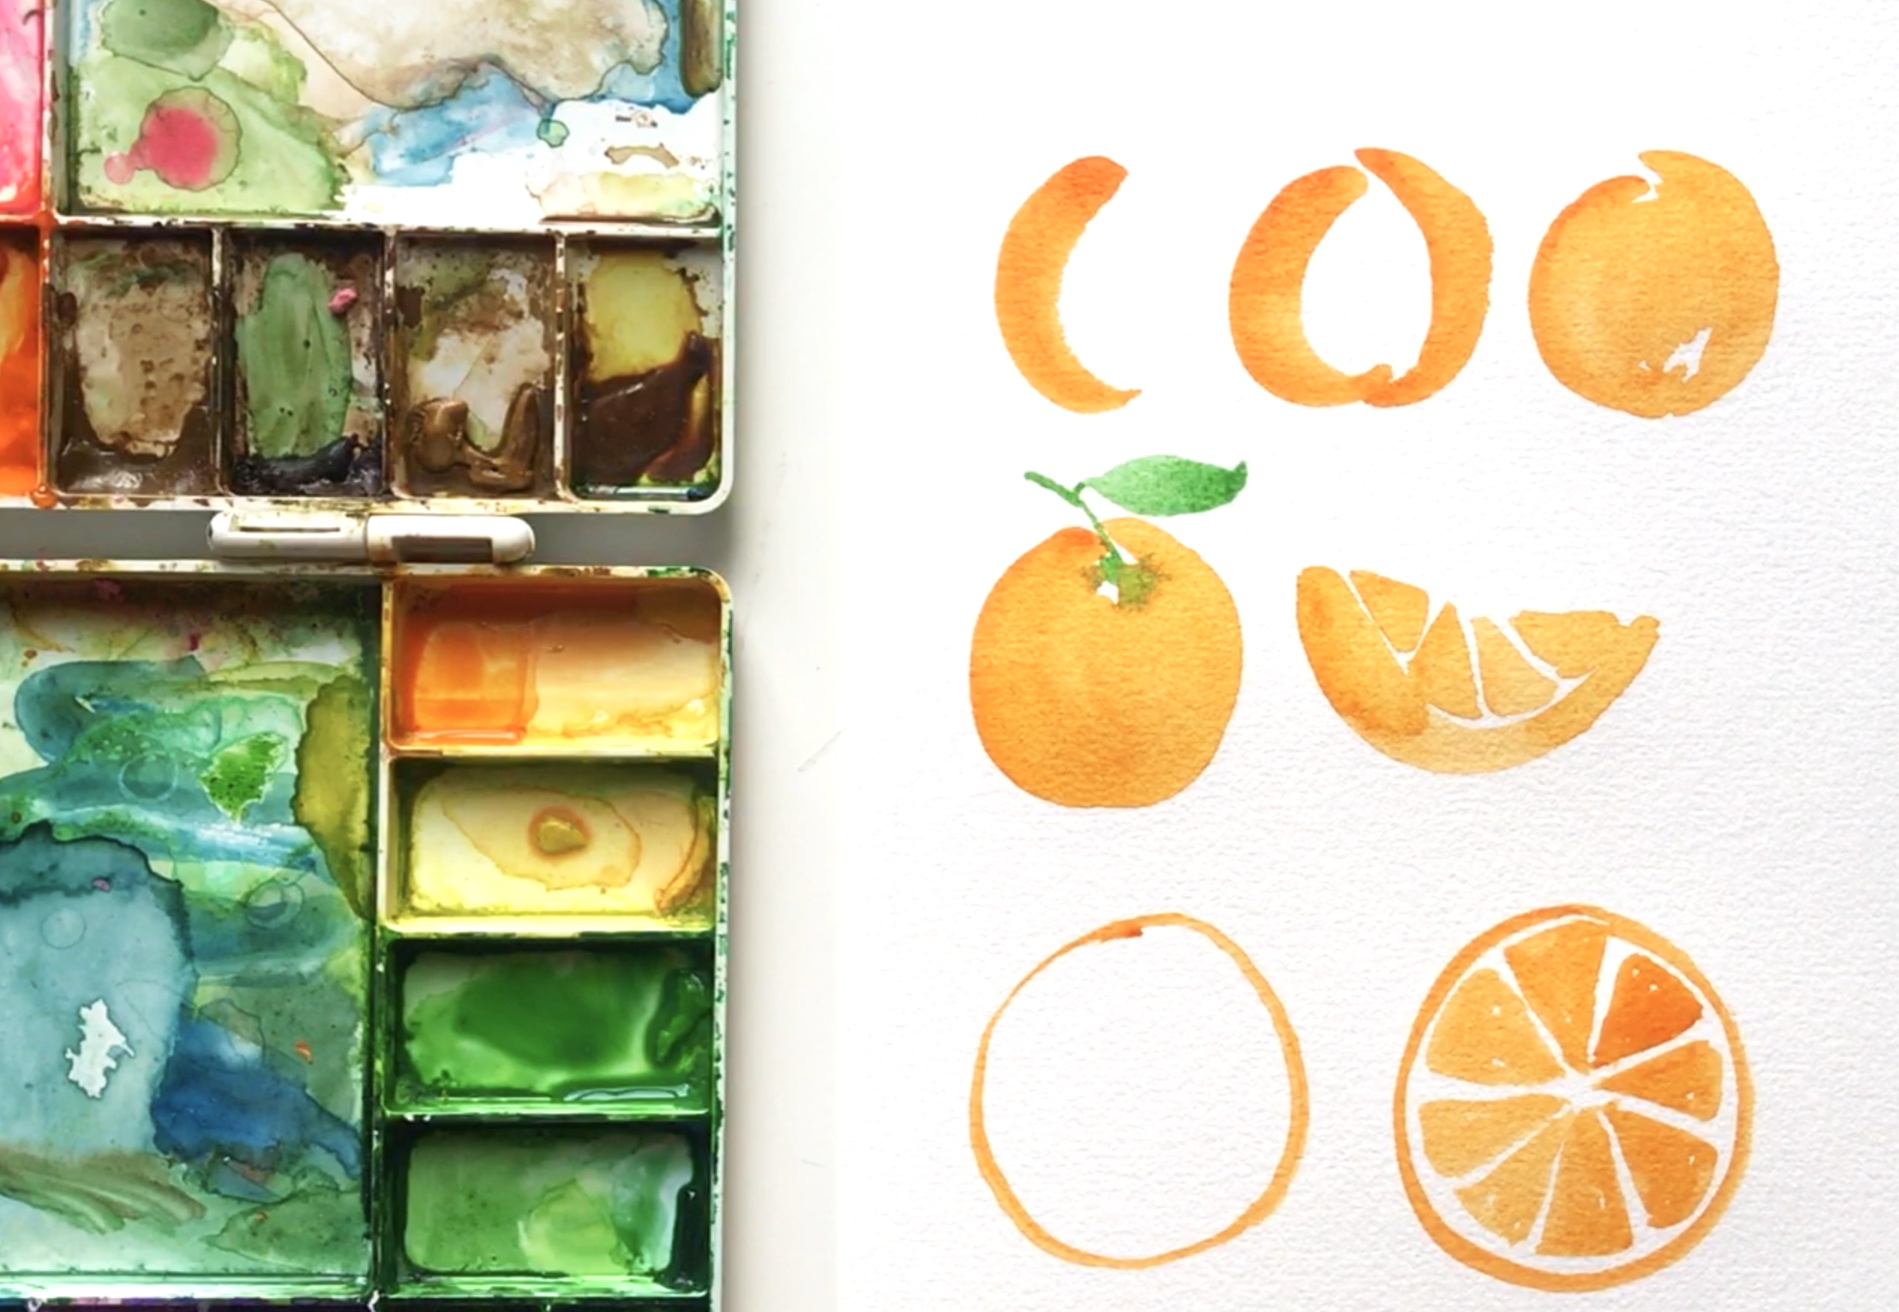
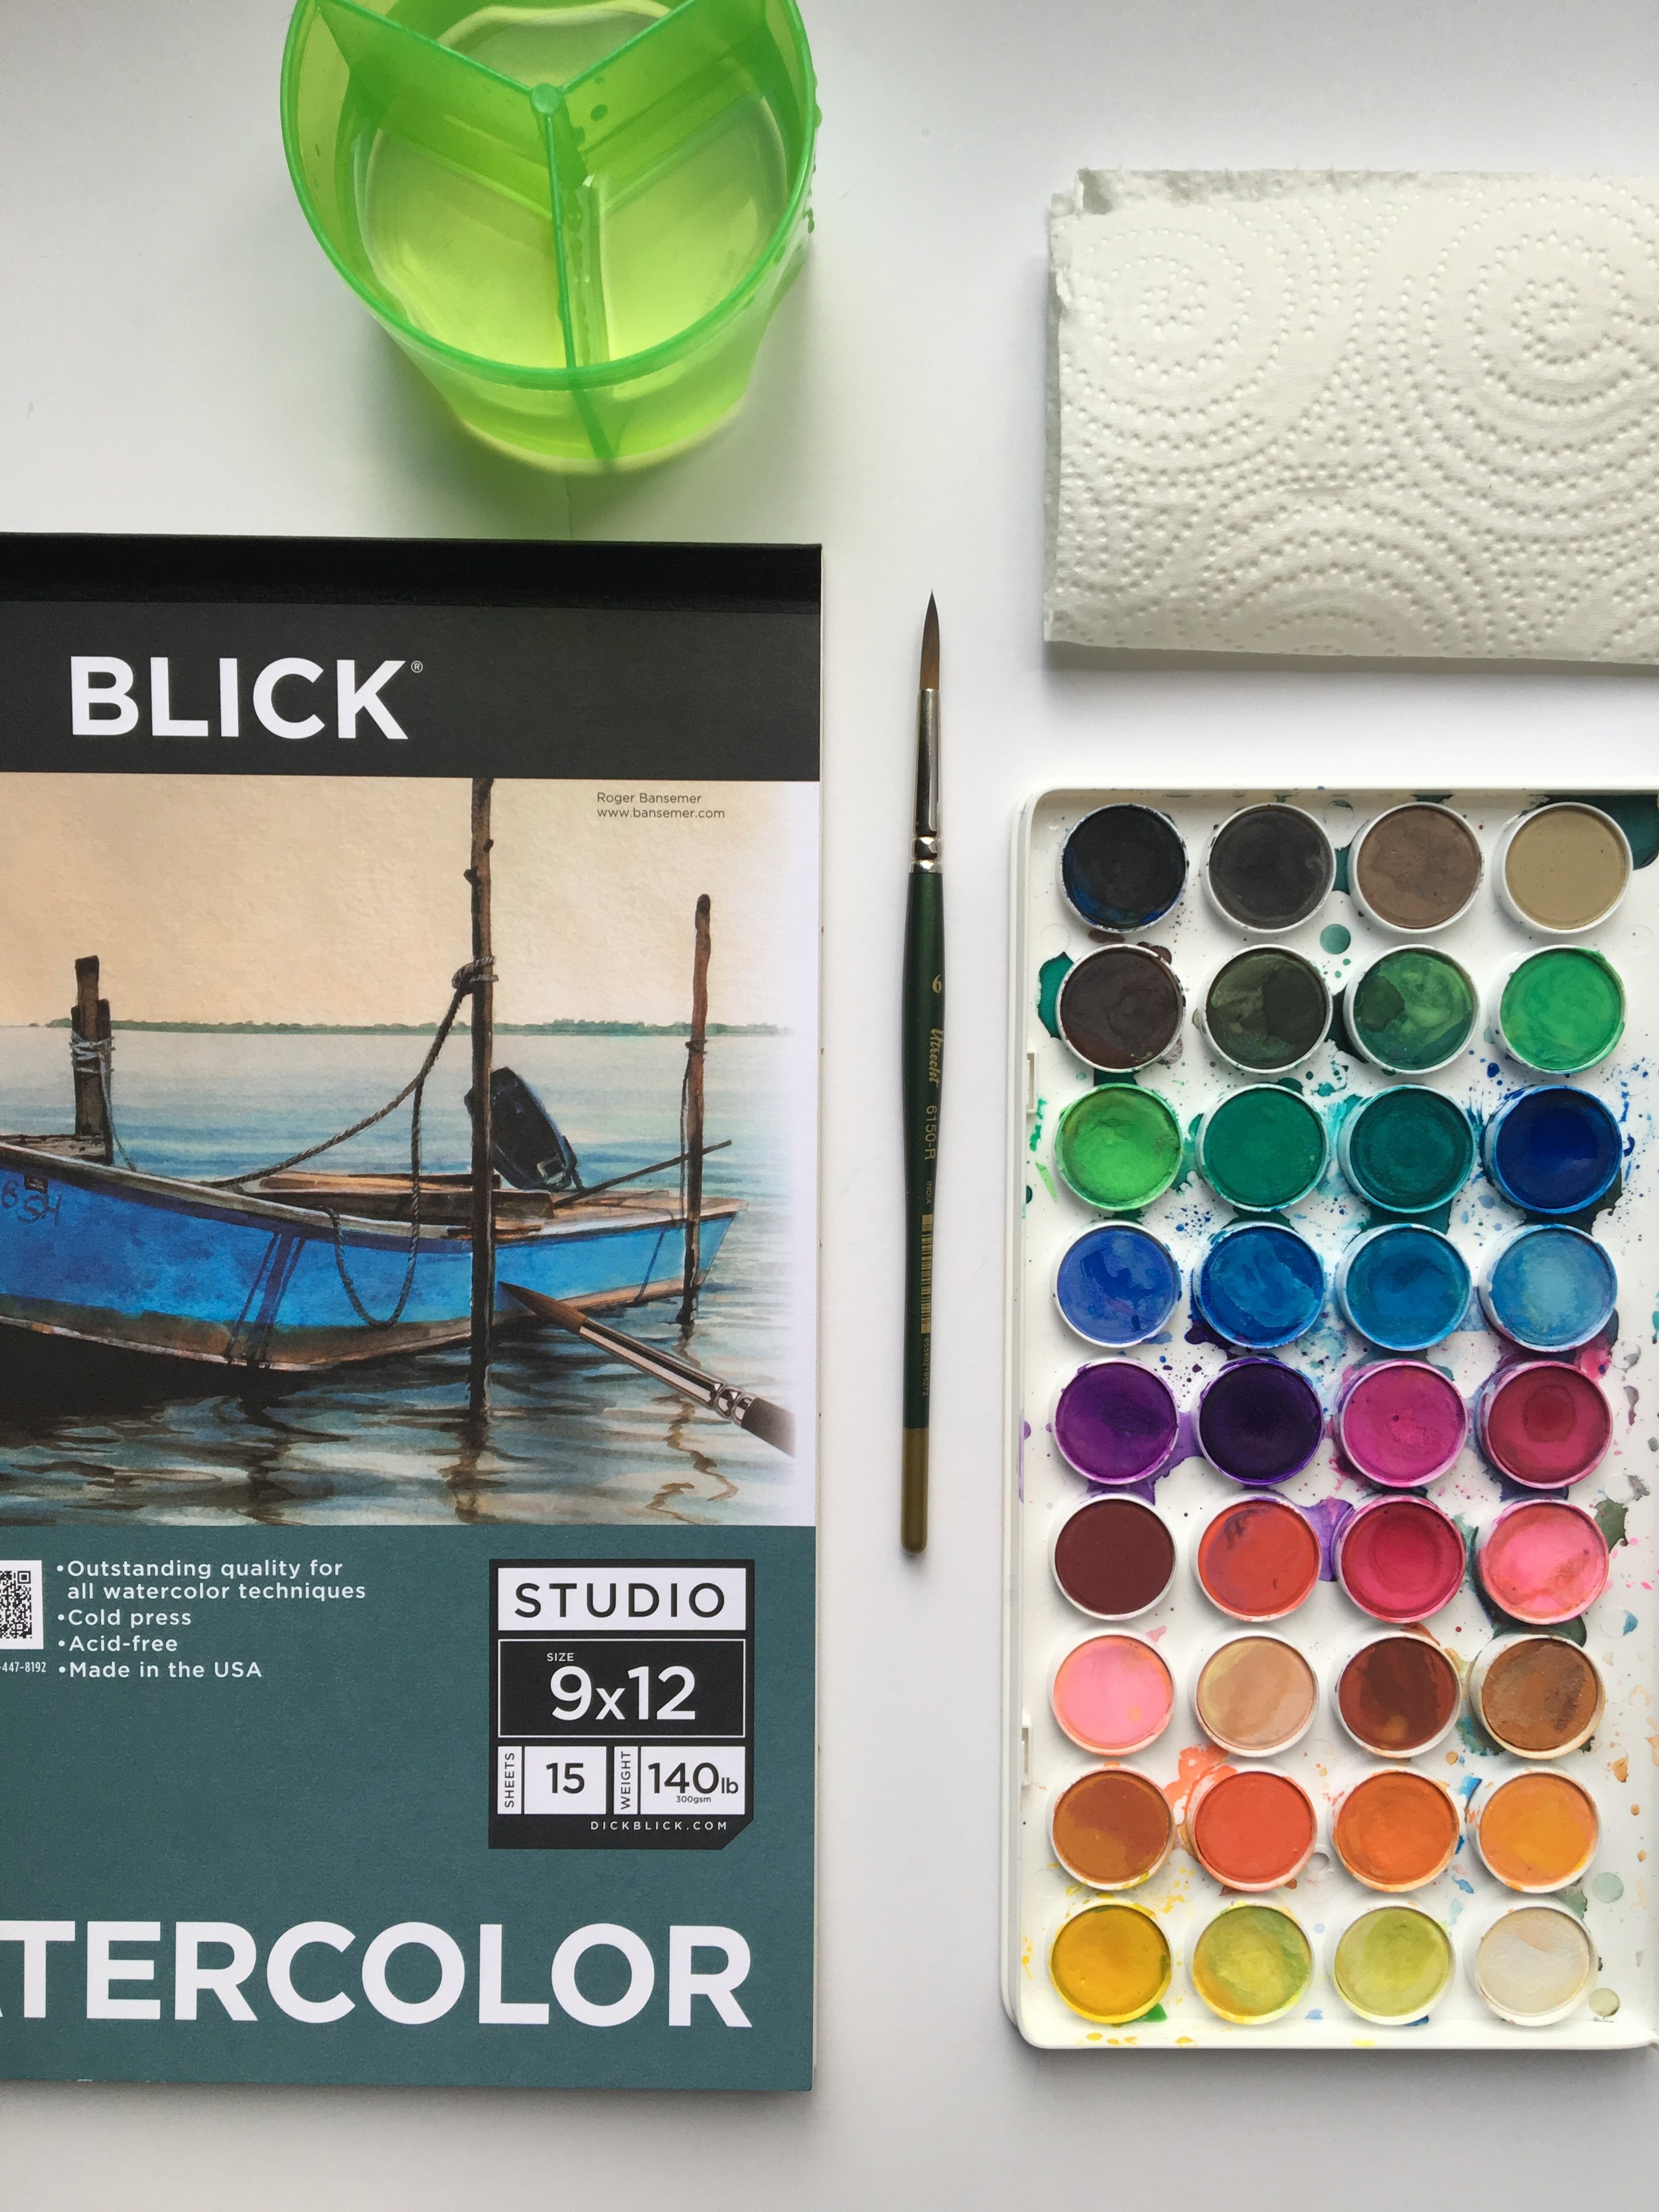
Then came time for me to press "play" on Yao's watercolor class. I watched it like a movie the first time through and knew I had to give it a try myself. I had two seriously old brushes, a $5 Michael's watercolor set, and no watercolor paper so I was anxious to get to an art store. I went to Blick and purchased the least expensive watercolor paper I could find, a size 6 paint brush (btw-who knew there was a difference between watercolor paintbrushes and oil paintbrushes!?), one tube of Winsor & Newton Professional Opera Rose paint, (one of Yao's favorite colors), and a 99-cent mixing palette. I was trying to make it as inexpensive as possible because I wasn't sure I would actually enjoy painting as much as I enjoyed watching Yao paint.

But I did! A week later I bought a Winsor & Newton Cotman pan set, a couple more brushes, and the inexpensive SKILL paper from Aaron Brothers and the Canson paper from Michael's. I found myself practicing all.the.time. I would either paint or draw (or both!) every single day for the duration of my sabbatical.

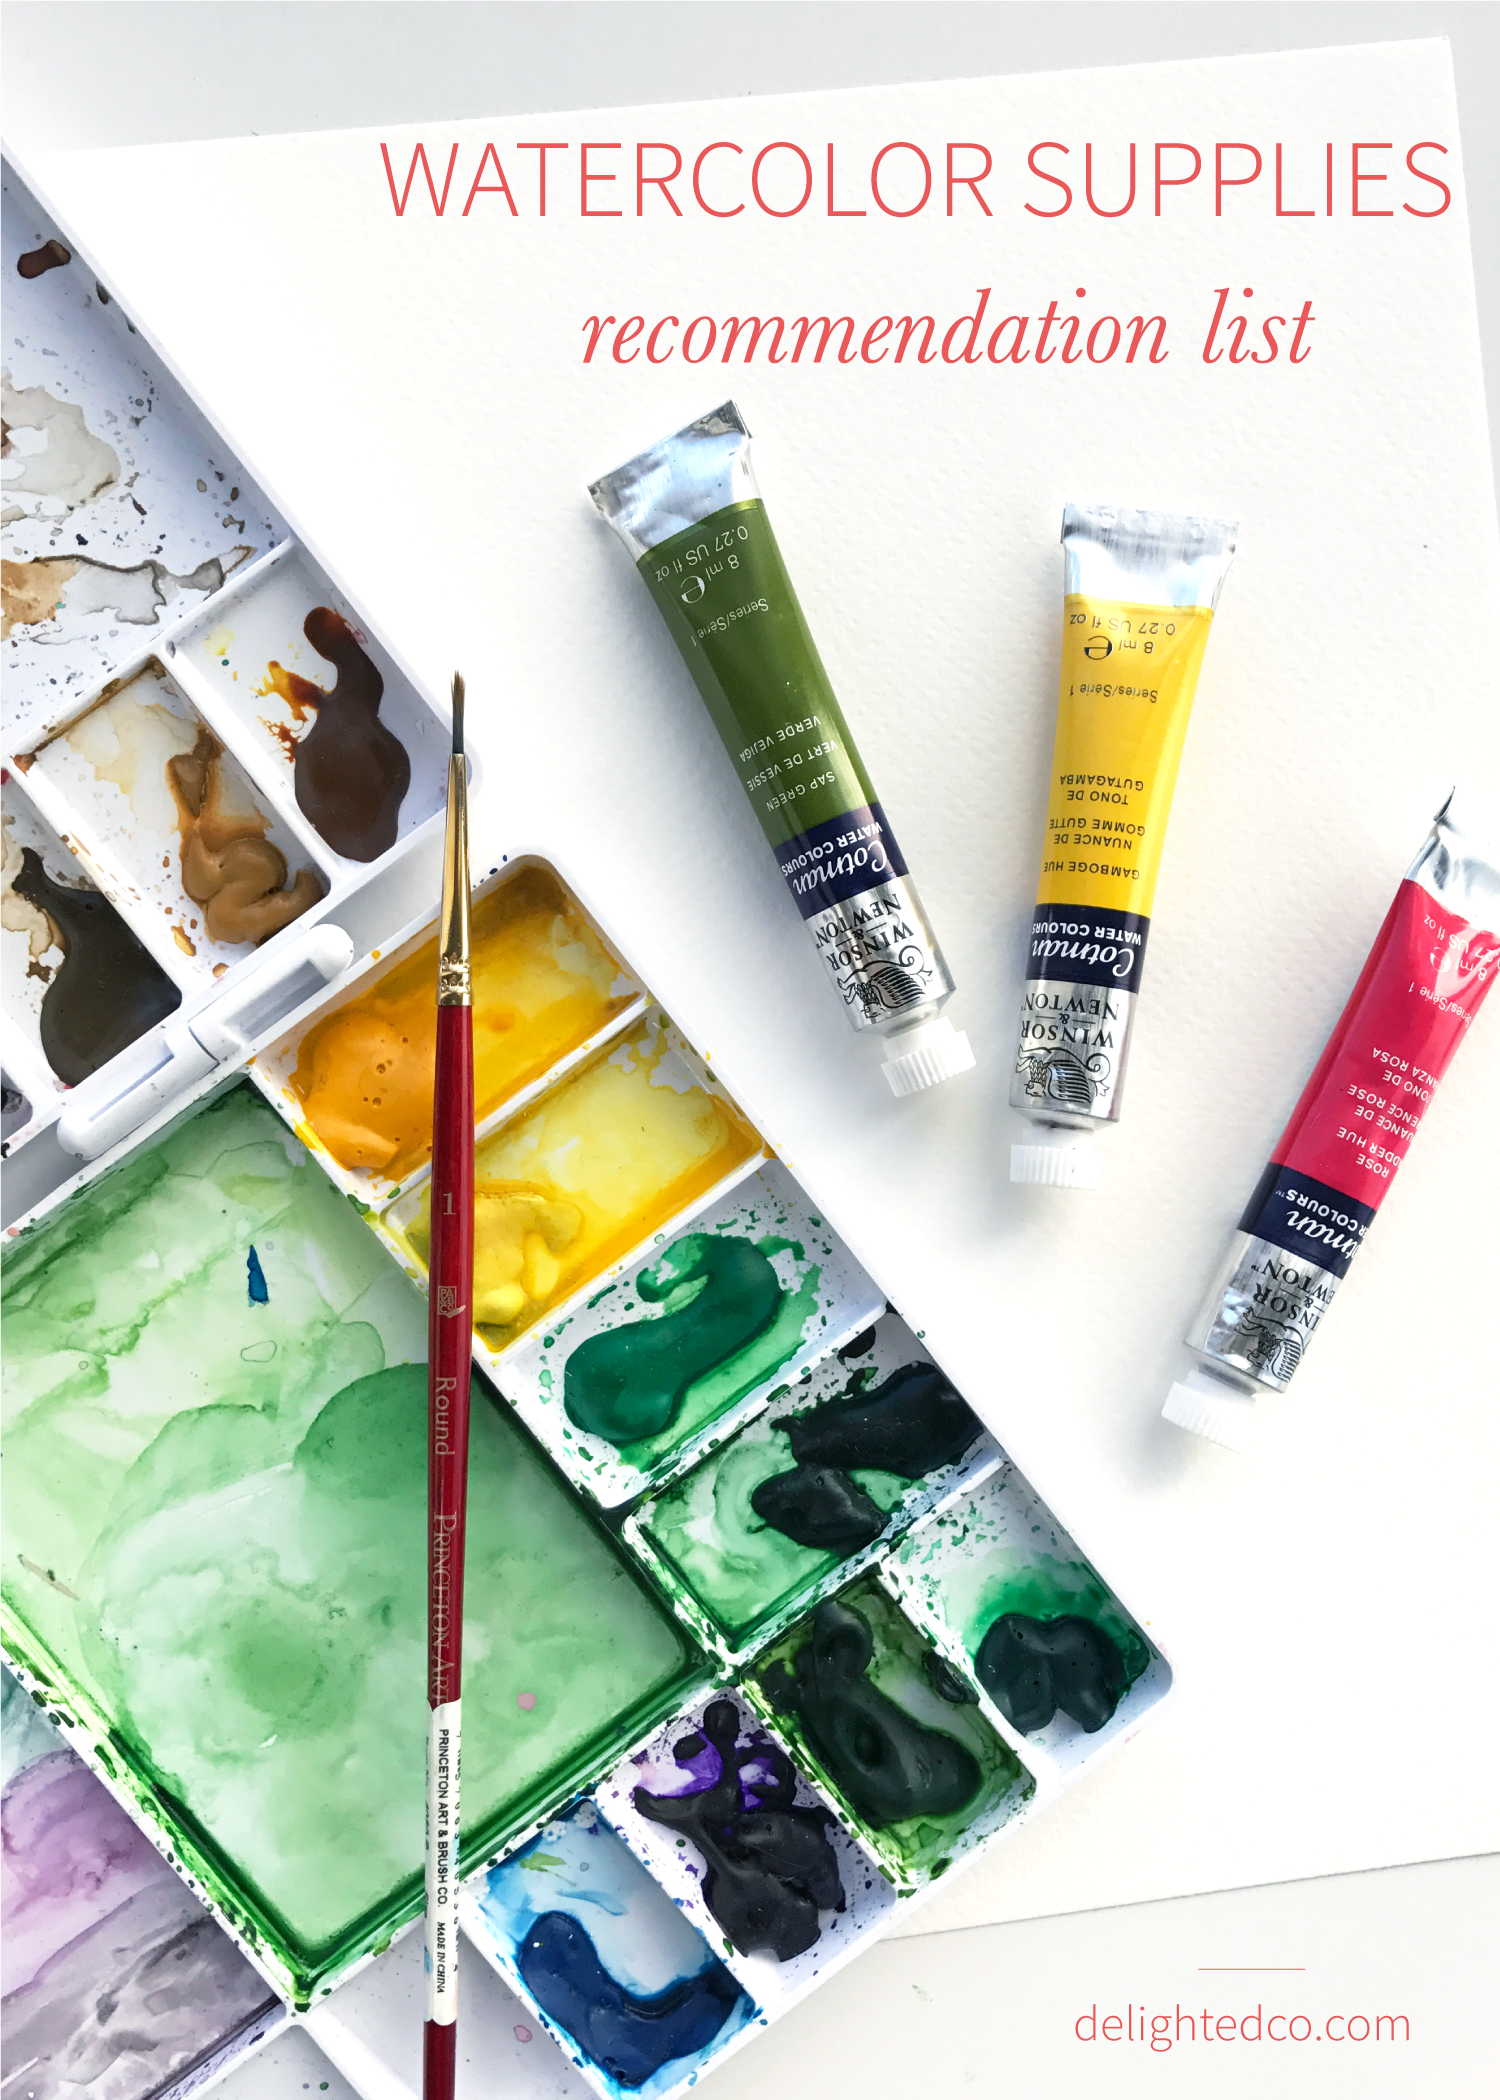
That was almost a year ago and since then, I've spent money on brushes I never use and paper that I don't love. If you're starting out and are wondering what you should buy to get started with watercolor, I'm hoping the recommended supplies listed below will offer some guidance and will make things a bit easier and affordable for you!
 

PAPER

90 lb Fabriano Studio Watercolor Paper, Cold Press (9x12) 
• I use this paper most; it's great for practice
• costs about 30-cents/page
• $6 for 20 pages at Blick
• $15 for 20 pages at Aaron Brothers so wait for their "buy 1, get 2 free sale"
• 25% cotton so it has a great feel but it's more lightweight so the paper will warp a bit, especially if you use lots of water

140 lb Fabriano Studio Watercolor (8x10)
• great for practice and original pieces
• costs about 42-cents/page
• $5 for 12 pages at Blick
• I use this paper when I'm working on something that will be hung on a wall, painting a landscape, or have a particular type of work in mind (vs. just sketching where I use the 90-lb)

BRUSHES

Princeton Heritage Round 4050R
• My favorite!!
• I use sizes 0-10 but my go-to's are 2, 4 and 8
• You can get these at Aaron Brothers (buy 1 get 2 free sales) or Amazon but the best price is definitely at Blick
• $3 - $8 each for those sizes at Blick

Princeton Select Synthetic Round 3750R
• I often use these for lettering (I don't prefer them for anything else)
• Sizes 5/0, 10/0, 0, 1
• Under $2 each for those sizes at Blick
• Note: the brushes on these are super thin and their shape can is easily lost if you snag the wrong way on your paper towel, or drop them, etc.

PAINT

Winsor & Newton Cotman Sketcher's Pocket Book
• Great for beginning and traveling! I used only this set with one tube of Opera Rose for quite a while
• $13 on Amazon
• This set comes with 12 colors, but if you want to start out with more options, they have a 24-color option as well

Winsor & Newton Tubes
• I mostly use Cotman tubes because they're very reasonable, but their colors aren't as vibrant as the professional paint
• $3 each at Blick
• I recommend splurging on Winsor & Newton Professional in Opera Rose (if you like pink)
• My go-to Cotman colors are: Prussian Blue, Permanent Rose, Cadmium Orange, Cadmium Yellow, Lemon Yellow, Hookers Green Light, Sap Green, Raw Umber, Ivory Black

Dr. Ph. Martin's Hydrus Fine Art Watercolor Set 1
• I haven't tried other brands of liquid watercolor or the concentrated versions so I can't compare but these are fun to use
• Bright, bold colors!
• $44 at Amazon or Blick

Artist's Loft Fundamentals Pan Set
• Great for beginning: especially if you're wanting to give watercolor a try and don't know if you'll be able to paint much
• Lots of bright colors
• $5 at Michael's
• This is the only thing I had in my house when I first started (I had purchased it a few years prior) but only used a couple times. I'll admit, I was influenced by the watercolor artists I was learning from and ended up giving this set to my daughter
• Since then, I've seen amazing artists use this set so I'm sure it's about preference and what one is used to. My only hesitation in recommending is that the paints feel a little chalky to me, whereas the Winsor & Newton or Dr. Ph. Martin's don't

And there you have it! I am sure I'll end up trying different paints and paper the longer I watercolor, but for now these are my best recommendations. I hope this is helpful...and have fun painting!

Watercolor Practice: Leaves

This week I started the second part of Yao Cheng's Beginning Watercolor class on Creativebug. The first session was all about making leaves and here is my first attempt. I've said this before: I really like Yao's teaching style. She is gifted but has a nice way of explaining what she's thinking at a basic level so I feel like it's actually possible to create what she is painting. And yes, mine are a mess compared to hers but at least I have a general sense of how to make the leaves she demonstrates and now it's up to me to continue practicing. 

Learning to paint leaves with watercolor | Amanda Gomes | delightedco.com

This wreath version above is my favorite attempt.

Learning to paint leaves with watercolor | Amanda Gomes | delightedco.com
IMG_0093.png

What I'm Learning: Watercolor

Watercolor has always felt a bit mysterious to me. While watercolor does have a welcoming feel being that it is often used by kids, there is a complex side in that it doesn’t provide as much control as I’d like. The bleeding and color differentiation can frustrate me because I don’t know what I’m doing.

Learning to Watercolor using Yao Cheng's Beginner Class on Creativebug | Amanda Gomes • delightedco.com

I am a complete novice when it comes to painting in general and until recently, have used the same palette of watercolors and very inexpensive brushes from Michael’s for the past few years whenever I felt a desire to paint. I have had no skill or understanding of how much water to use, how to use the brushes appropriately, or even how to paint anything other than stripes. Seriously. I’ve tried and always end up a little frustrated.

So I am, yet again, very happy for the myriad of online courses available to me during my sabbatical. This week I’m working through Yao Cheng’s Watercolor for Beginner’s class on Creativebug and have found a new respect and understanding of the medium. Even after learning just the basics, I feel much more friendly towards watercolor and I’m having a lot of fun!

A few of my takeaways:

Supplies. Paintbrush, Paper Towel, Watercolor Paint, Two Jars of Water, and Cold Pressed Watercolor Paper (has more of a "tooth" which is that texture you expect from watercolor paper vs Hot Pressed which I think is a little smoother).

Water Jars. Yao recommends using two jars of water to keep the cool colors (blues, greens, purples) separated from the warm colors (reds, yellows, oranges). Separating the cool and warm colors means you can have more flexibility with rinsing and even using some of the water from the jars in your painting while avoiding the dreaded brown, muddy color that so often happens when mixing.

Wetting the Brush. Always start by getting your brush really wet and swiftly move the brush around in the water jar before dipping into the paint. This might sound super basic (it is), but I used to just quickly dip my paintbrush in the water and start. What that meant is that the water wasn’t filling the brush and in turn, the paint wouldn’t go as far on the page. When your brush is really wet (versus simply being damp), you’ll end up with a lot more paint in your brush.

Brushes. Using a larger brush (Yao’s is size 20, I only had a size 6) can get you lots of great effects. Use the point for small strokes and dots or press down for thick lines. The projects I did for the first part of her beginner’s course were all done with my size 6 brush. (Side note: in the art stores there are so many brushes, it can be overwhelming. But brushes are made for different media so find the brushes labeled W/C or Watercolor and get those instead of the brushes made specifically for Oil or Acrylic. The helpful guy at Blick gave me that tip...apparently the watercolor brushes are made to soak up water.)

Work Quickly. Getting colors to blend provides interesting effects and often creates unexpected colors. When you work quickly, there is a better chance of blending before the colors dry on the page.

Colors. When you want a lighter color, add more water. When you want a deeper color, don’t use as much water. But unless you’re going for a dry brush effect in your work, saturate your brush with water before dipping into the paint.

Shapes. One pointed tip round brush can create a lot of different shapes. As I mentioned, all of the lessons I painted were done with the same brush and I ended up with triangles, circles, dots and swashes.

Don’t Aim for Perfect. Have fun and don’t expect things to be perfect. Obviously as a beginner I should know this from common sense but I still always have an idea in my mind that I wish I could execute. However, experimenting with blending, colors, different amounts of water, shapes, etc. is fun and is all I need to worry about right now.

If you haven’t tried watercolor but want to, I recommend Yao’s class to get started or any other class / tutorial available on YouTube or Skillshare. I think you'll like it! (link below)

What I'm Learning: How to Watercolor | Amanda Gomes • delightedco.com
What I'm Learning about Watercolor | Amanda Gomes • delightedco.com