Painting Tutorial: Citrus Illustration

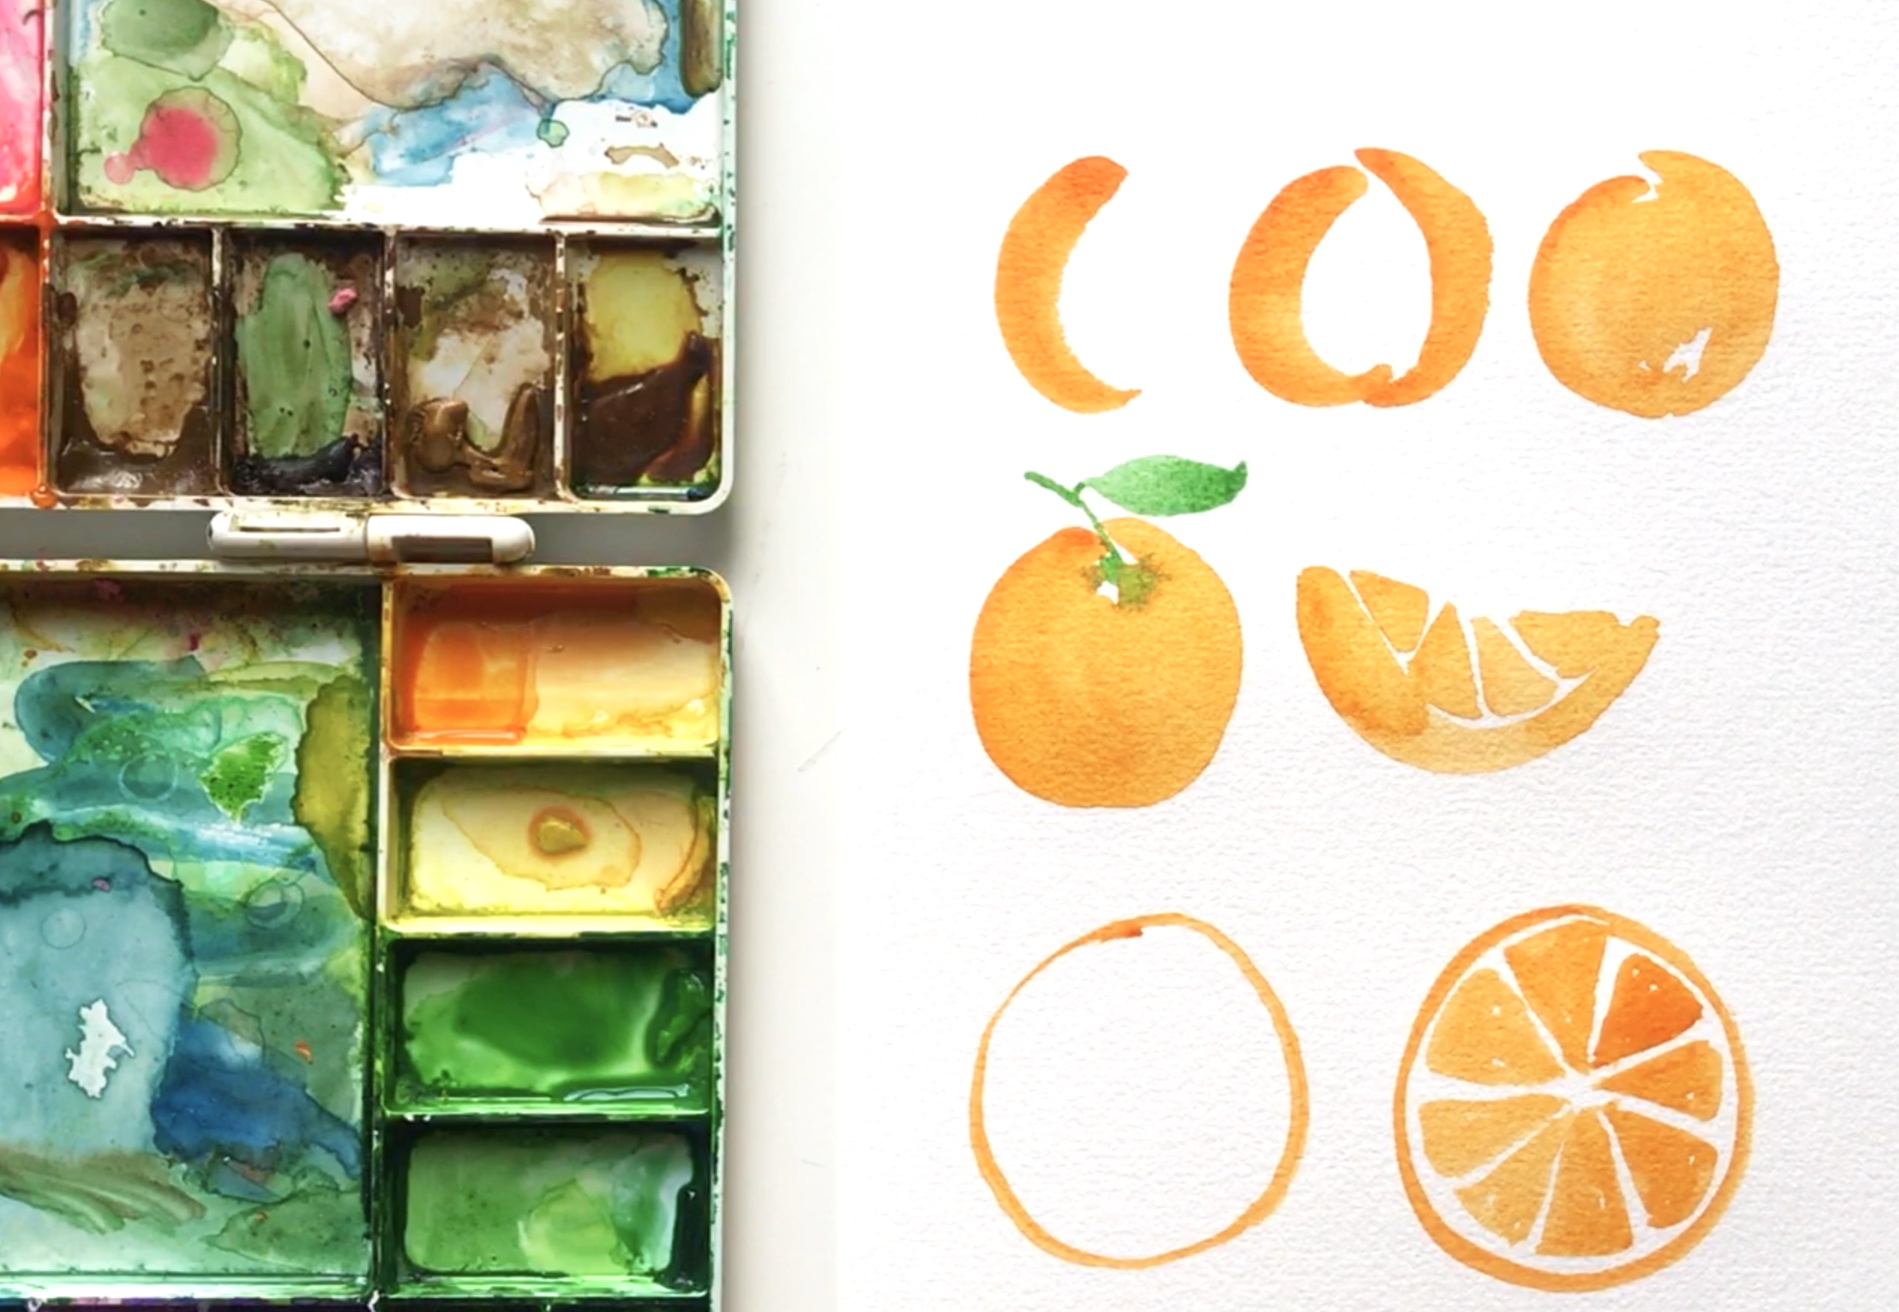
Another 1-min video tutorial today! I absolutely love painting fruit—especially citrus and I thikn you’ll find these oranges a lot of fun to paint. I hope you give it a try!

SUPPLIES

  • Orange and Green Watercolor Paint

  • 140 lb Bee Paper, Cold Pressed

  • Simply Simmons Round Brush, Size 8

  • Cup of water

  • Paper towel

STEP-BY-STEP

  • Fill your brush with paint and water (but make sure it’s not dripping wet)

  • Place the tip of the brush on the paper and apply pressure as you make the shape of a “c” (often called a comma stroke)

  • Add another comma stroke opposite the first and don’t quite join them at the top

  • Fill in the area with paint

  • Add a stem using just the tip of your brush

  • Add a leaf by joining two slight comma curves together and filling them in

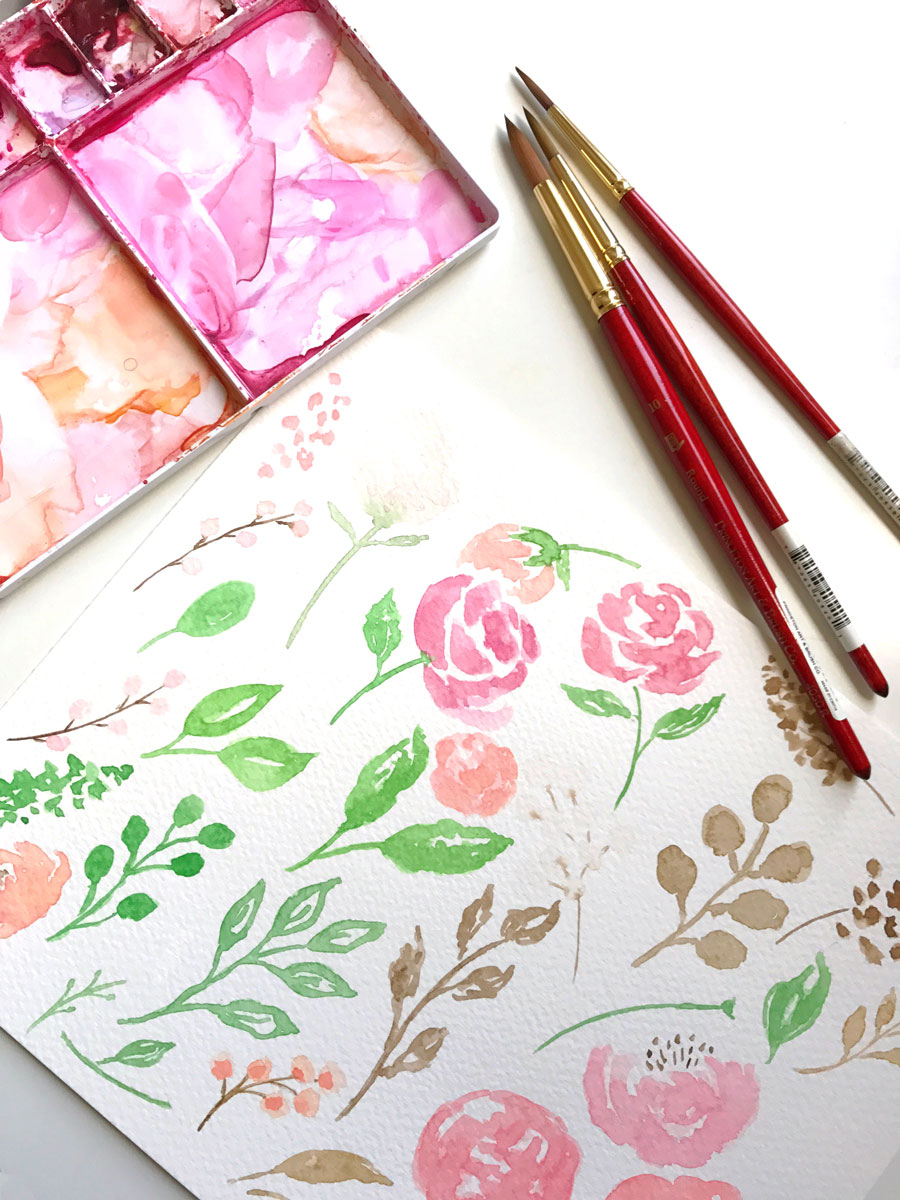
Painting Tutorial: Watercolor Leaves

I learned to paint with watercolor thanks to the internet and lots of practice. I’m grateful for the artists who shared their talent and knowledge online because it allowed me to discover this creative outlet that’s made my life more fun.

If you want to get started with watercolor, here’s a quick 1-min video that will hopefully encourage you to give it a try. Step-by-step instructions are listed below. Let’s paint leaves!

SUPPLIES

  • Green Watercolor Paint
    - Winsor & Newton Cotman Sap Green
    - Winsor & Newton Cotman Hookers Green
    - Van Gogh Permanent Yellow Green

  • 140 lb Bee Paper, Cold Pressed

  • Simply Simmons Round Brush, Size 8

  • Cup of water

  • Paper towel

STEP-BY-STEP

  • Fill your brush with paint and water (but make sure it’s not dripping wet)

  • Start by placing the tip of the brush on the paper and apply pressure (press down) as you move the brush upward into a slight c-curve (often called a comma stroke), and lift the brush to finish

  • Do the same thing on the opposite side to make the other side of the leaf

  • Add a stem using the tip of your brush

  • Practice, practice, practice

  • And have fun!

Painting to Pattern: My Process

I'm a curious type who asks lots of questions in hopes of finding out how things work, why they're done the way they are, and how little things fit into a bigger picture. And since I have a fairly standard process when it comes to how I create a surface pattern from my watercolor art, I thought I'd share for you other curious types. So here it is...

Paint-to-pattern-design-process-amanda-gomes-delightedco.jpg

When I'm creating patterns, I usually have a color palette in mind and paint in those particular colors. There are ways to change the colors in Illustrator or Photoshop but when possible, I prefer to keep my designs pretty true to the colors I use when I originally create them.

I'll usually find floral images in a book, on Pinterest or from photos I've taken around town and use them for inspiration. When I paint fruit, however, I typically do a google image search because I can see multiple colors and variations of a piece of fruit in one place which is super helpful.

Last week I worked on this pattern:

©Amanda Gomes • Watercolor Floral Pattern

Which started as these individual motifs:

My process for turning my painted (watercolor) elements into patterns. ©Amanda Gomes • delightedco.com

I then scanned at 600 dpi using the software that came with my scanner (not an amazing scanner by the way, but it works: HP Officejet Pro 6830). I selected separate motifs and made new layers from each so I could edit them one by one. I edit the levels, remove the paper background and any dust spots, smooth edges if necessary, brighten or adjust color, and sometimes remove or add part of the painted motifs if their shape needs a little help.

Amanda-Gomes-Watercolor-Pattern-Process-2.jpg

Each motif is then transferred as a separate element into Illustrator. For this particular pattern, I made mini bouquets from the elements and then laid out those bouquets to create my final design. I tried out a few background colors and then saved the few I liked best. And that's it!

My process for turning my painted (watercolor) elements into patterns. ©Amanda Gomes • delightedco.com

What I'm Learning: Watercolor Supplies

Ahh watercolor. It's been my favorite past time since officially discovering it last September (2016) thanks to Creativebug and Yao Cheng's Beginning Watercolor class.

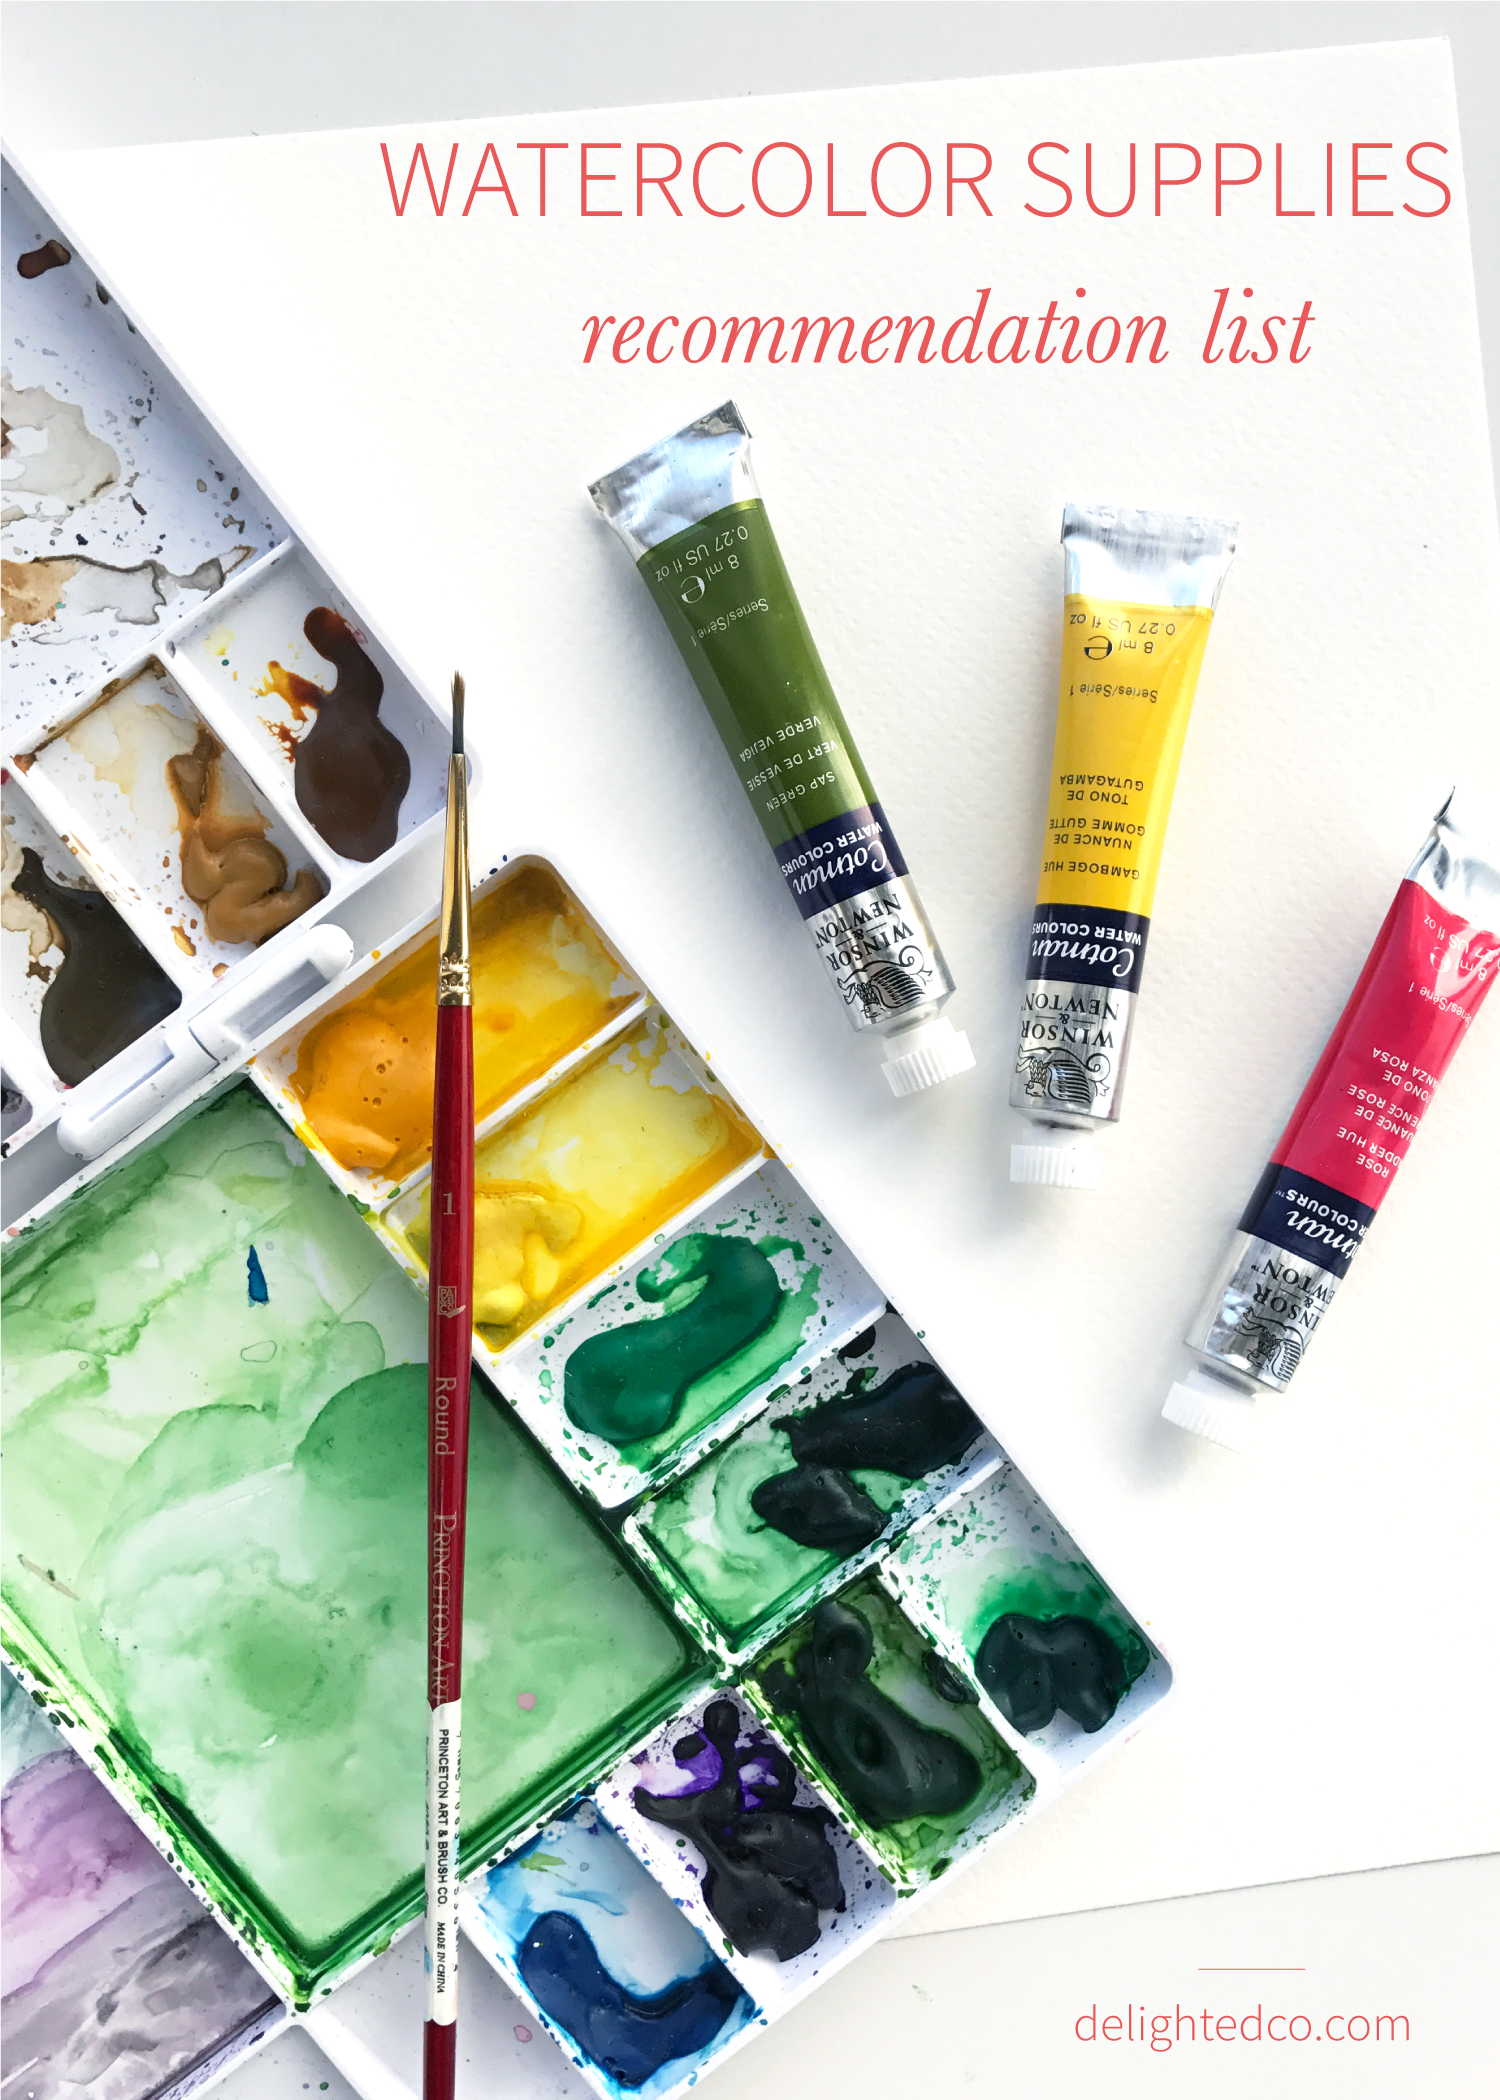
After a year of watercolor painting, these are the supplies I recommend. A list of paper, watercolor paint, and brushes, along with links on where to find them.

I was on a 6-week sabbatical from work, home with a 3-year old and 1-year old, and had big plans to learn art, in some form or another. Just before my time off, I'd discovered Creativebug and set-up a secret pinterest board titled Art Exploration. I pinned a bunch of interesting classes and worked through a couple of them which were great, especially Lisa Congdon's drawing classes. See my recommended online courses HERE. (I also tried some oil painting on my own without any instruction and that was a disaster! I'll save that story for another time.)

Then came time for me to press "play" on Yao's watercolor class. I watched it like a movie the first time through and knew I had to give it a try myself. I had two seriously old brushes, a $5 Michael's watercolor set, and no watercolor paper so I was anxious to get to an art store. I went to Blick and purchased the least expensive watercolor paper I could find, a size 6 paint brush (btw-who knew there was a difference between watercolor paintbrushes and oil paintbrushes!?), one tube of Winsor & Newton Professional Opera Rose paint, (one of Yao's favorite colors), and a 99-cent mixing palette. I was trying to make it as inexpensive as possible because I wasn't sure I would actually enjoy painting as much as I enjoyed watching Yao paint.

But I did! A week later I bought a Winsor & Newton Cotman pan set, a couple more brushes, and the inexpensive SKILL paper from Aaron Brothers and the Canson paper from Michael's. I found myself practicing all.the.time. I would either paint or draw (or both!) every single day for the duration of my sabbatical.

That was almost a year ago and since then, I've spent money on brushes I never use and paper that I don't love. If you're starting out and are wondering what you should buy to get started with watercolor, I'm hoping the recommended supplies listed below will offer some guidance and will make things a bit easier and affordable for you!
 

PAPER

90 lb Fabriano Studio Watercolor Paper, Cold Press (9x12) 
• I use this paper most; it's great for practice
• costs about 30-cents/page
• $6 for 20 pages at Blick
• $15 for 20 pages at Aaron Brothers so wait for their "buy 1, get 2 free sale"
• 25% cotton so it has a great feel but it's more lightweight so the paper will warp a bit, especially if you use lots of water

140 lb Fabriano Studio Watercolor (8x10)
• great for practice and original pieces
• costs about 42-cents/page
• $5 for 12 pages at Blick
• I use this paper when I'm working on something that will be hung on a wall, painting a landscape, or have a particular type of work in mind (vs. just sketching where I use the 90-lb)

BRUSHES

Princeton Heritage Round 4050R
• My favorite!!
• I use sizes 0-10 but my go-to's are 2, 4 and 8
• You can get these at Aaron Brothers (buy 1 get 2 free sales) or Amazon but the best price is definitely at Blick
• $3 - $8 each for those sizes at Blick

Princeton Select Synthetic Round 3750R
• I often use these for lettering (I don't prefer them for anything else)
• Sizes 5/0, 10/0, 0, 1
• Under $2 each for those sizes at Blick
• Note: the brushes on these are super thin and their shape can is easily lost if you snag the wrong way on your paper towel, or drop them, etc.

PAINT

Winsor & Newton Cotman Sketcher's Pocket Book
• Great for beginning and traveling! I used only this set with one tube of Opera Rose for quite a while
• $13 on Amazon
• This set comes with 12 colors, but if you want to start out with more options, they have a 24-color option as well

Winsor & Newton Tubes
• I mostly use Cotman tubes because they're very reasonable, but their colors aren't as vibrant as the professional paint
• $3 each at Blick
• I recommend splurging on Winsor & Newton Professional in Opera Rose (if you like pink)
• My go-to Cotman colors are: Prussian Blue, Permanent Rose, Cadmium Orange, Cadmium Yellow, Lemon Yellow, Hookers Green Light, Sap Green, Raw Umber, Ivory Black

Dr. Ph. Martin's Hydrus Fine Art Watercolor Set 1
• I haven't tried other brands of liquid watercolor or the concentrated versions so I can't compare but these are fun to use
• Bright, bold colors!
• $44 at Amazon or Blick

Artist's Loft Fundamentals Pan Set
• Great for beginning: especially if you're wanting to give watercolor a try and don't know if you'll be able to paint much
• Lots of bright colors
• $5 at Michael's
• This is the only thing I had in my house when I first started (I had purchased it a few years prior) but only used a couple times. I'll admit, I was influenced by the watercolor artists I was learning from and ended up giving this set to my daughter
• Since then, I've seen amazing artists use this set so I'm sure it's about preference and what one is used to. My only hesitation in recommending is that the paints feel a little chalky to me, whereas the Winsor & Newton or Dr. Ph. Martin's don't

And there you have it! I am sure I'll end up trying different paints and paper the longer I watercolor, but for now these are my best recommendations. I hope this is helpful...and have fun painting!

What I'm Learning: Watercolor + Art Resources

I started taking online drawing and watercolor classes last September (thank you Skillshare and Creativebug!) and can't believe how much I've learned in the past 9 months. I still feel like a total beginner but I'm a lot more comfortable creating with pencil and paint brushes than I was when I initially started. 

20 Watercolor + Art Resources for Beginners

One of my favorite parts of the artistic process is the feeling of accomplishment when I'm done painting or drawing something I didn't know I was capable of. And even when it's something simple (because usually it is), I am grateful for finished products I can feel proud of. Side note: the feeling of personal accomplishment is something I seriously lack now that I'm home with my kids every day. Let's just say there's no "great job on that" feedback like there is in the corporate world :)

I regularly soak up books and classes and podcasts about art hoping to learn as much as I can and then try translating that to paper with my paints and brushes. Below are a list of resources I appreciate and have benefitted from. If you're learning to draw or watercolor (or want to start) and need ideas about where and what to learn, I hope this helps. Have fun!

Skillshare
1 • Ana Victoria Calderon - Watercolor Textures | Watercolor for Beginners
2 • Dallas Shaw Fashion Illustrator - Drawing People
3 • Amarilys Henderson - Expressive Little Faces

Get a free month of Skillshare Premium with my link: http://skl.sh/1N77ltd

Creativebug
4 • Lisa Congdon - Basic Line Drawing
5 • Yao Cheng - Beginning Watercolor
6 • Heather Ross - Drawing + Illustration Basics
7 • Jennifer Orkin Lewis - Illustrative Painting with Gouache 
8 • Molly Hatch - Introduction to Drawing
9 • Brush Lettering with Linea Carta 

Other Tutorials + Inspiration
10 • Simply Jessica Marie - Weekly Tutorial Series 
11 • The Virtual Instructor 

Books
12 • Everyday Watercolor (Jenna Rainey) - comes out in October
13 • 20 Ways to Draw Everything (Lisa Congdon, Julia Kuo, Eloise Renouf) 

Instagram Inspiration
14 • August Wren 
15 • Carolyn Gavin 
16 • Mon Voir 
17 • Paints to Brushes 

Podcasts
18 • Art for Your Ear
19 • Creative Pep Talk 
20 • Savvy Painter 

Have fun!!

*update*
Need supplies? Get my recommended watercolor supply list in this post.

How to Make a Repeat Pattern with Illustrator's Pattern Tool

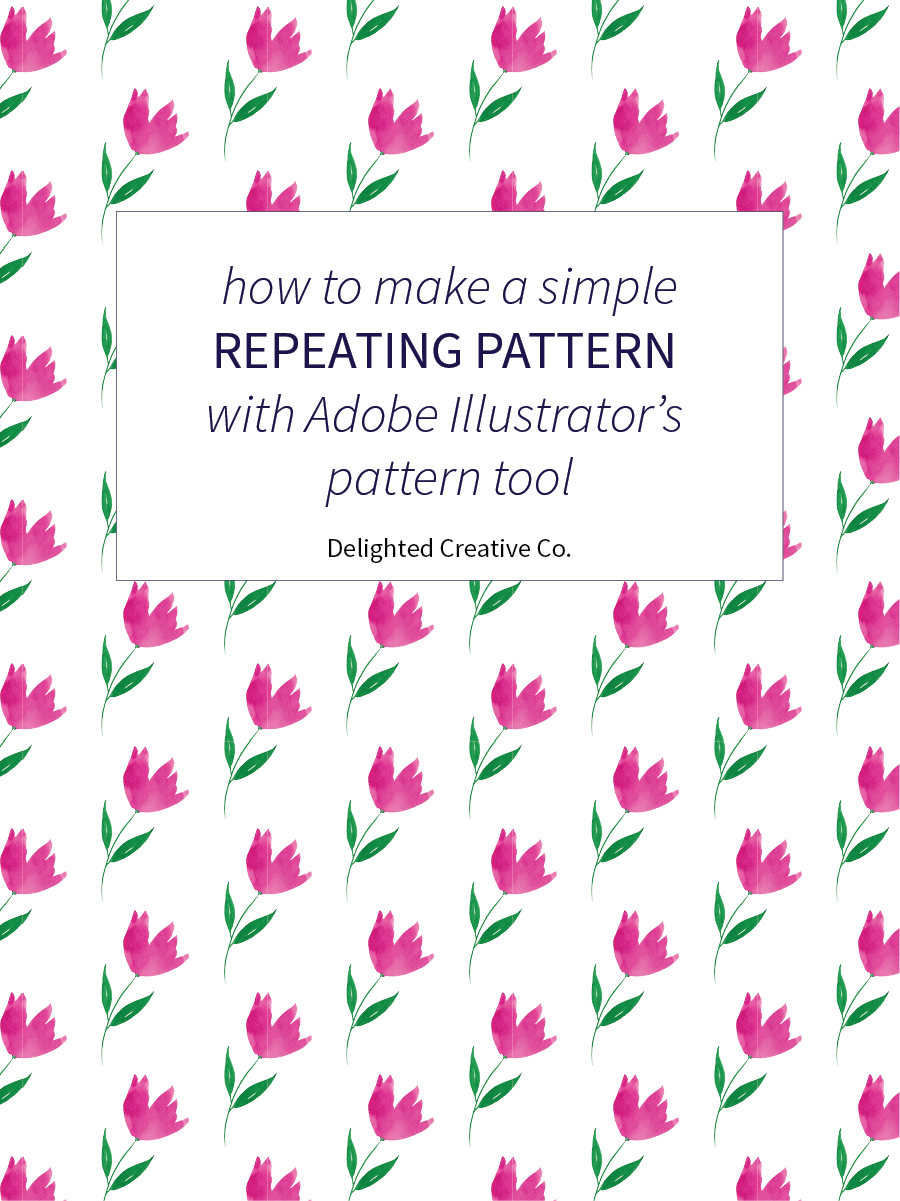
Somehow I completely forgot about Illustrator's built-in pattern tool and just rediscovered it for some simple repeats I've been making. This tool keeps equal spacing between motifs and I've found it to work best for fairly simple patterns and geometrics. It's fun to use because it seriously provides instant gratification. As in, you have a motif or element (such as the flower seen in my image below), and five seconds later you can have a pattern from that motif. If you haven't tried it, I think you'll love it.

How to make a simple repeating pattern using Adobe Illustrator's pattern tool  | Tutorial by Delighted Creative Co.

I created a quick 4-minute tutorial video to show you how to use the tool. I hope it's helpful and feel free to leave a comment below if you have any questions.

Have fun making patterns!

How to Draw a Wreath

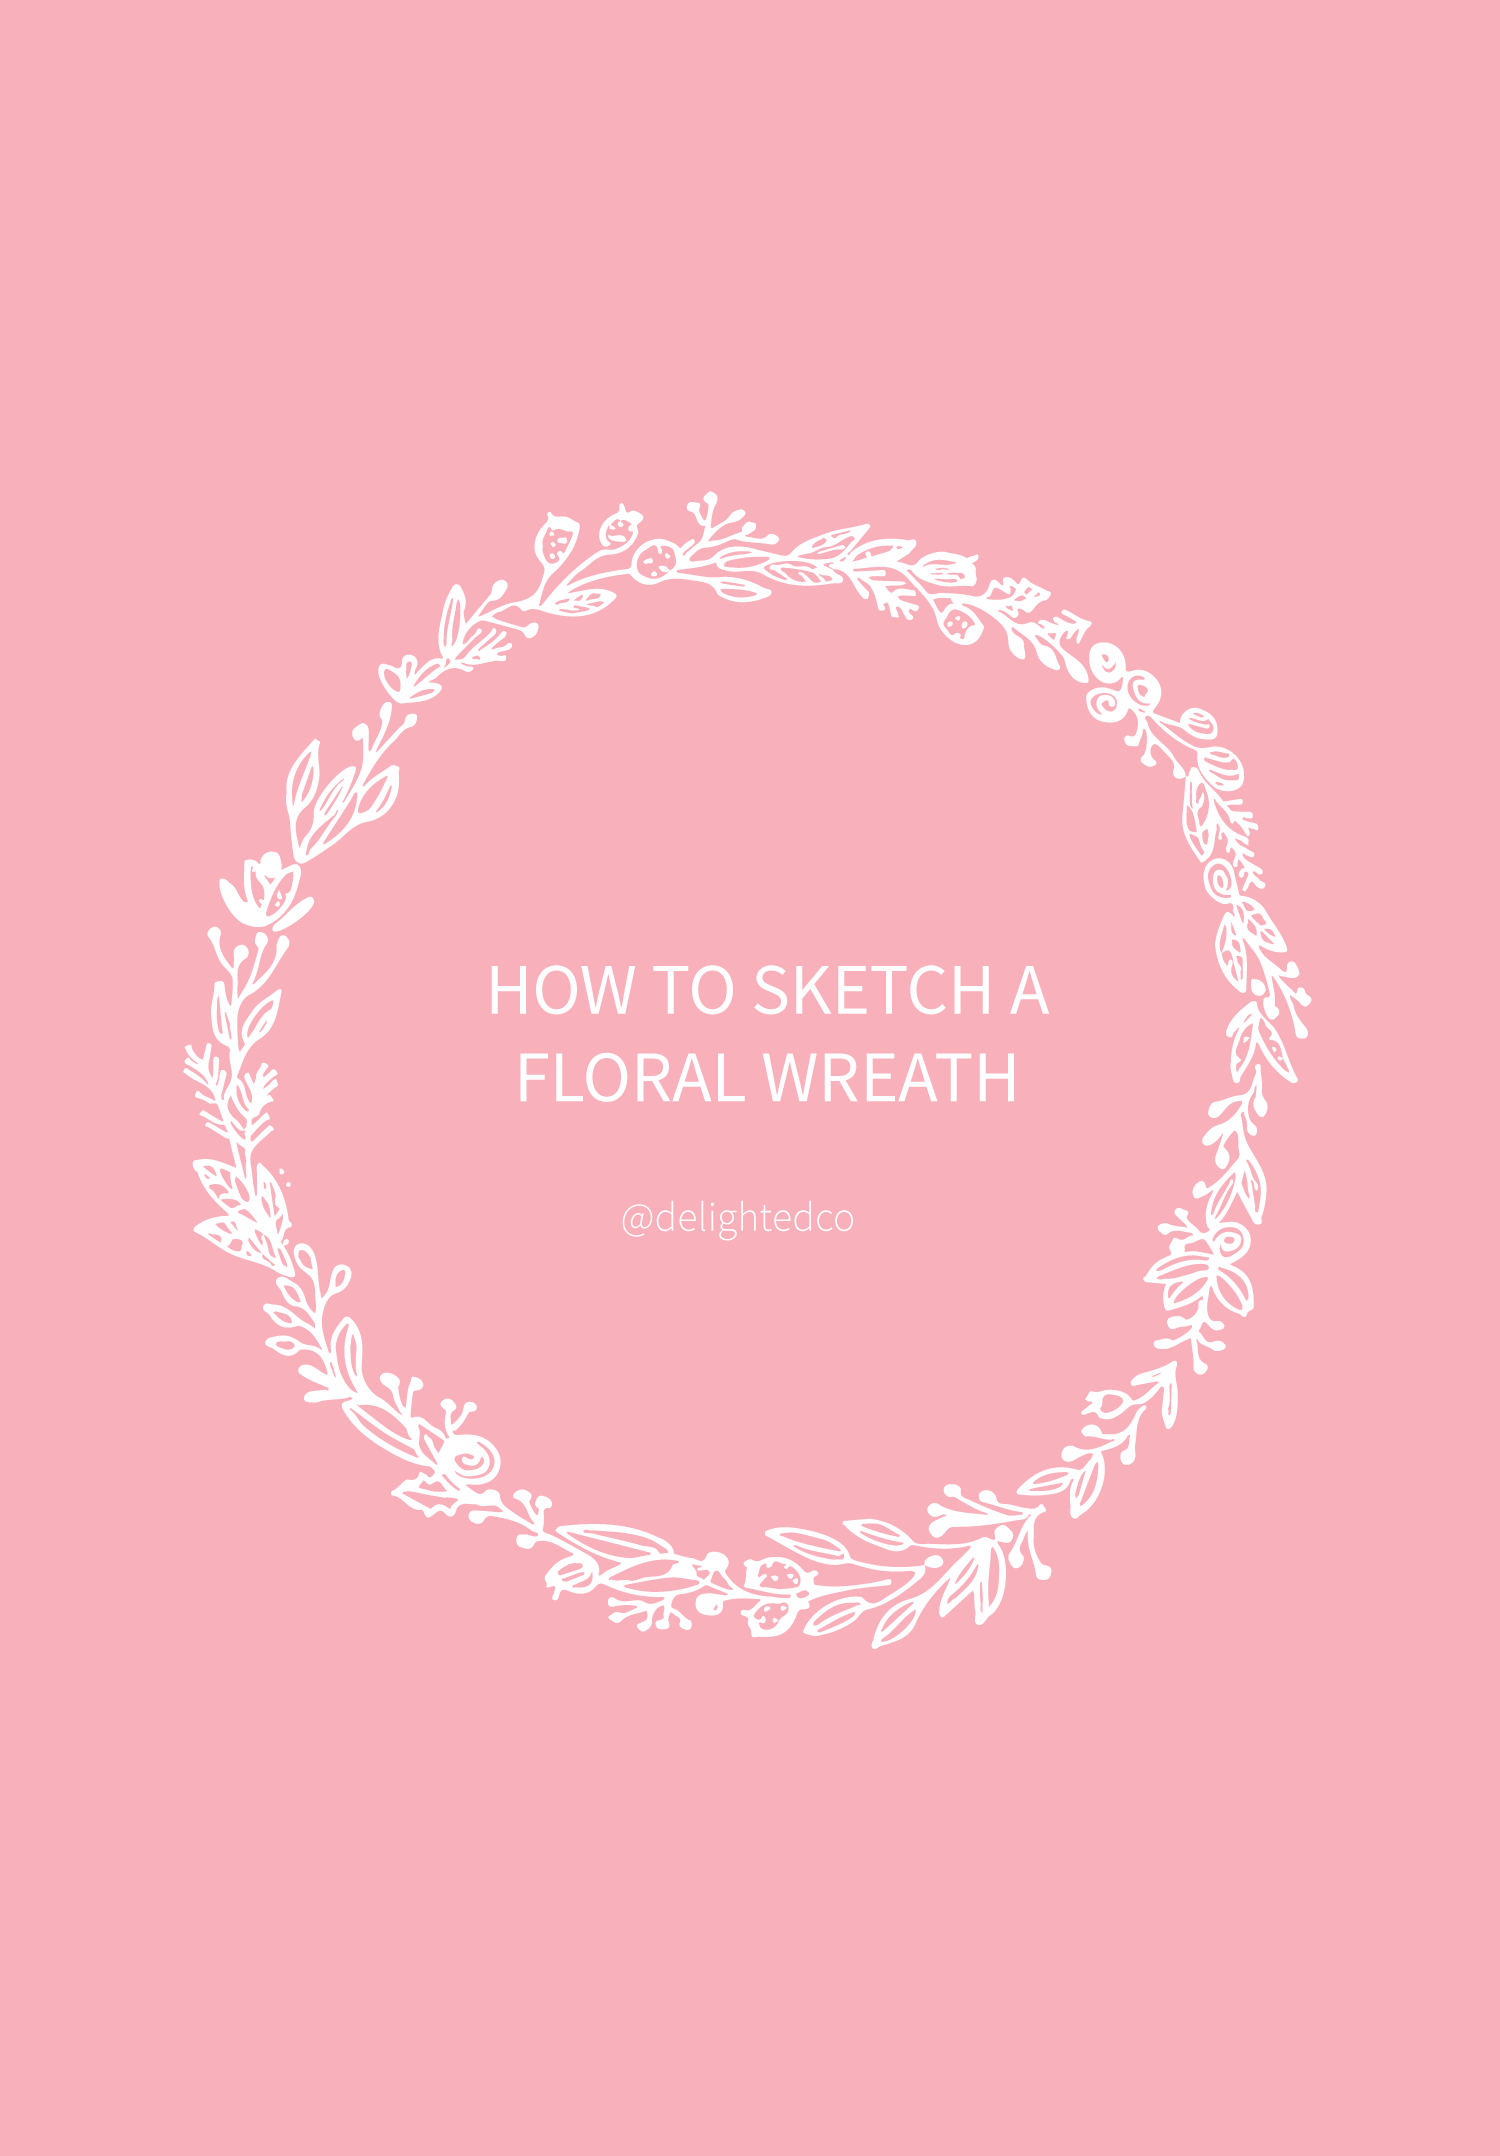
Wreaths! I am so glad I came across Surely Simple's Instagram account the other day because it inspired me to turn the floral motifs I sketch into wreaths. Pen and ink wreaths. It's an addicting activity and believe me when I say they look more intricate and difficult to draw than they actually are. The process is a lot of fun and I'm going to show you how to make one because I think you'll enjoy it!

How to draw a floral wreath...super easy and fun! Via delightedco.com

What you'll need:
• Paper
• Pen (I use micron pens but any will do)
• Pencil
• Something round for tracing

Start by sketching a few leaves and flowers which will give you something to reference as you create your wreath. I like to have motifs readily available to pull from so I don't have to overthink (which I'm prone to do). It also helps me move a little faster because I don't need to stop every few leaves to figure out what other elements I should add.

Learn to draw a floral wreath...super easy and fun! Via delightedco.com

Next, use a pencil to trace a round item such as a mug, jar, or whatever you have on hand.

Now use your pen and start drawing!

Start slowly and draw each motif, one by one. Try not to overthink (like I did my first few times) and instead, use your reference page to pull items and go around the ring. You can always fill in blank areas with dots or small leaves or florals after you fill the wreath once. If you're like me, you'll analyze your wreath like crazy so go ahead and take the time to learn from your first couple attempts and you'll keep getting better...I'm sure of it! Consider the following:

Spacing - Is there an area of the wreath where you have a bunch of motifs tight and squished together and other areas that are more sparse? Consider working on the spacing of your elements.

Balance - Mix the bold elements with the more delicate elements and consider the size of each motif. If some are extra large and others are small, make sure the large elements are dispersed around the wreath so it doesn't feel extra "heavy" in one area, making it seem off-balanced.

Visual Interest - do you have too many of the same elements in one section of the wreath? Is there variation between your motifs? Sometimes using all the same elements looks amazing and is just what you're going for, but make sure it looks intentional and that you try a mixture of shapes and angles around the wreath to keep the eye from settling on one overwhelming area.

How to draw a floral wreath...super easy and fun! Via delightedco.com

Have fun!

Links
A 45-second video of me drawing a floral wreath
Surely Simple's Instagram