I am a complete novice when it comes to painting in general and until recently, have used the same palette of watercolors and very inexpensive brushes from Michael’s for the past few years whenever I felt a desire to paint. I have had no skill or understanding of how much water to use, how to use the brushes appropriately, or even how to paint anything other than stripes. Seriously. I’ve tried and always end up a little frustrated.
So I am, yet again, very happy for the myriad of online courses available to me during my sabbatical. This week I’m working through Yao Cheng’s Watercolor for Beginner’s class on Creativebug and have found a new respect and understanding of the medium. Even after learning just the basics, I feel much more friendly towards watercolor and I’m having a lot of fun!
A few of my takeaways:
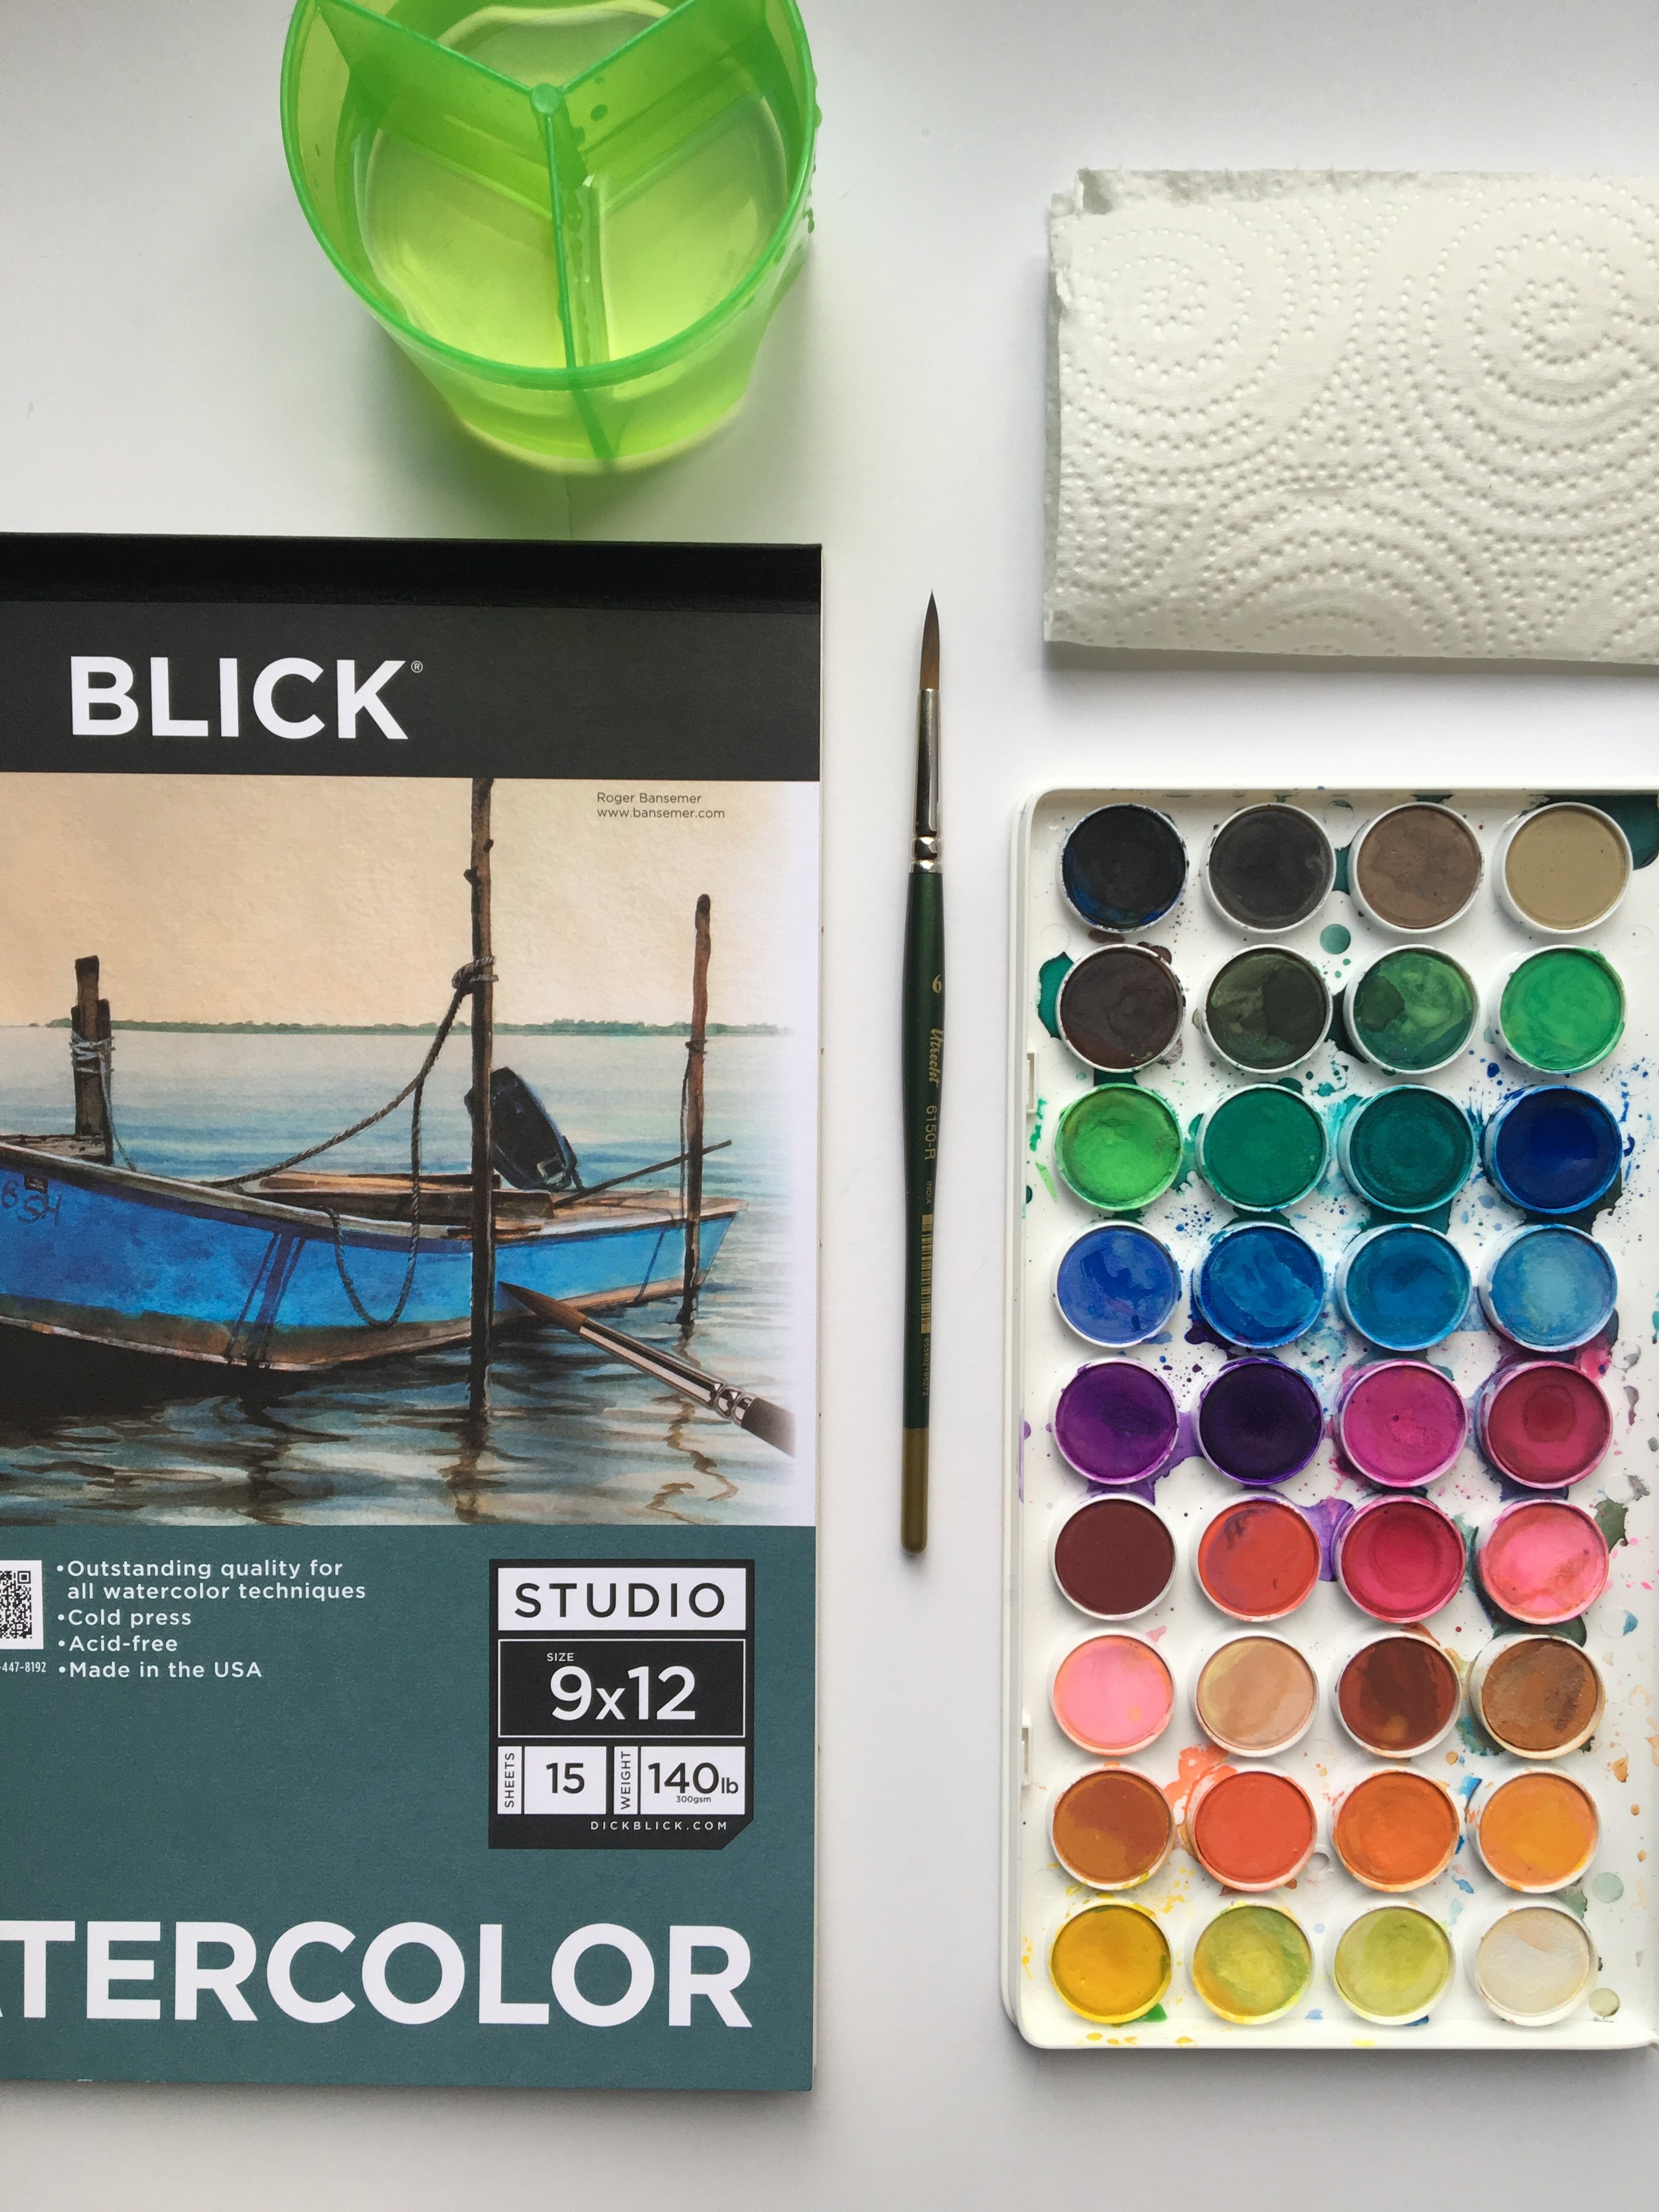
Supplies. Paintbrush, Paper Towel, Watercolor Paint, Two Jars of Water, and Cold Pressed Watercolor Paper (has more of a "tooth" which is that texture you expect from watercolor paper vs Hot Pressed which I think is a little smoother).
Water Jars. Yao recommends using two jars of water to keep the cool colors (blues, greens, purples) separated from the warm colors (reds, yellows, oranges). Separating the cool and warm colors means you can have more flexibility with rinsing and even using some of the water from the jars in your painting while avoiding the dreaded brown, muddy color that so often happens when mixing.
Wetting the Brush. Always start by getting your brush really wet and swiftly move the brush around in the water jar before dipping into the paint. This might sound super basic (it is), but I used to just quickly dip my paintbrush in the water and start. What that meant is that the water wasn’t filling the brush and in turn, the paint wouldn’t go as far on the page. When your brush is really wet (versus simply being damp), you’ll end up with a lot more paint in your brush.
Brushes. Using a larger brush (Yao’s is size 20, I only had a size 6) can get you lots of great effects. Use the point for small strokes and dots or press down for thick lines. The projects I did for the first part of her beginner’s course were all done with my size 6 brush. (Side note: in the art stores there are so many brushes, it can be overwhelming. But brushes are made for different media so find the brushes labeled W/C or Watercolor and get those instead of the brushes made specifically for Oil or Acrylic. The helpful guy at Blick gave me that tip...apparently the watercolor brushes are made to soak up water.)
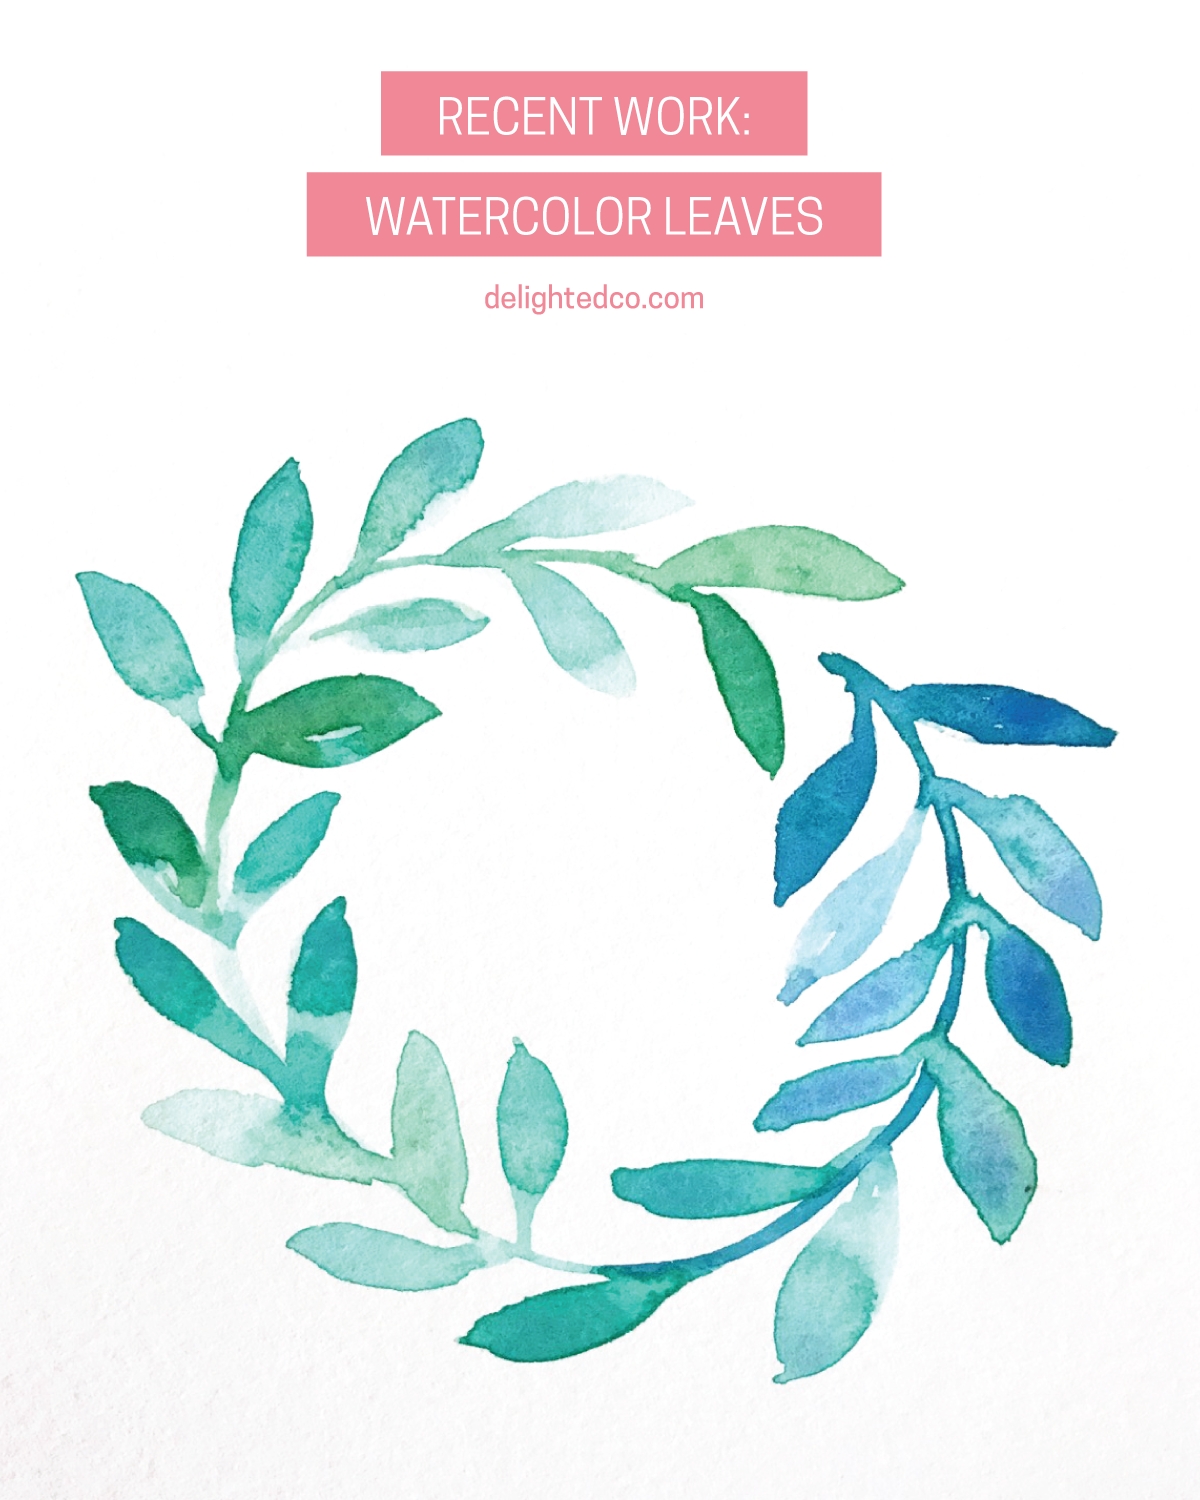
Work Quickly. Getting colors to blend provides interesting effects and often creates unexpected colors. When you work quickly, there is a better chance of blending before the colors dry on the page.
Colors. When you want a lighter color, add more water. When you want a deeper color, don’t use as much water. But unless you’re going for a dry brush effect in your work, saturate your brush with water before dipping into the paint.
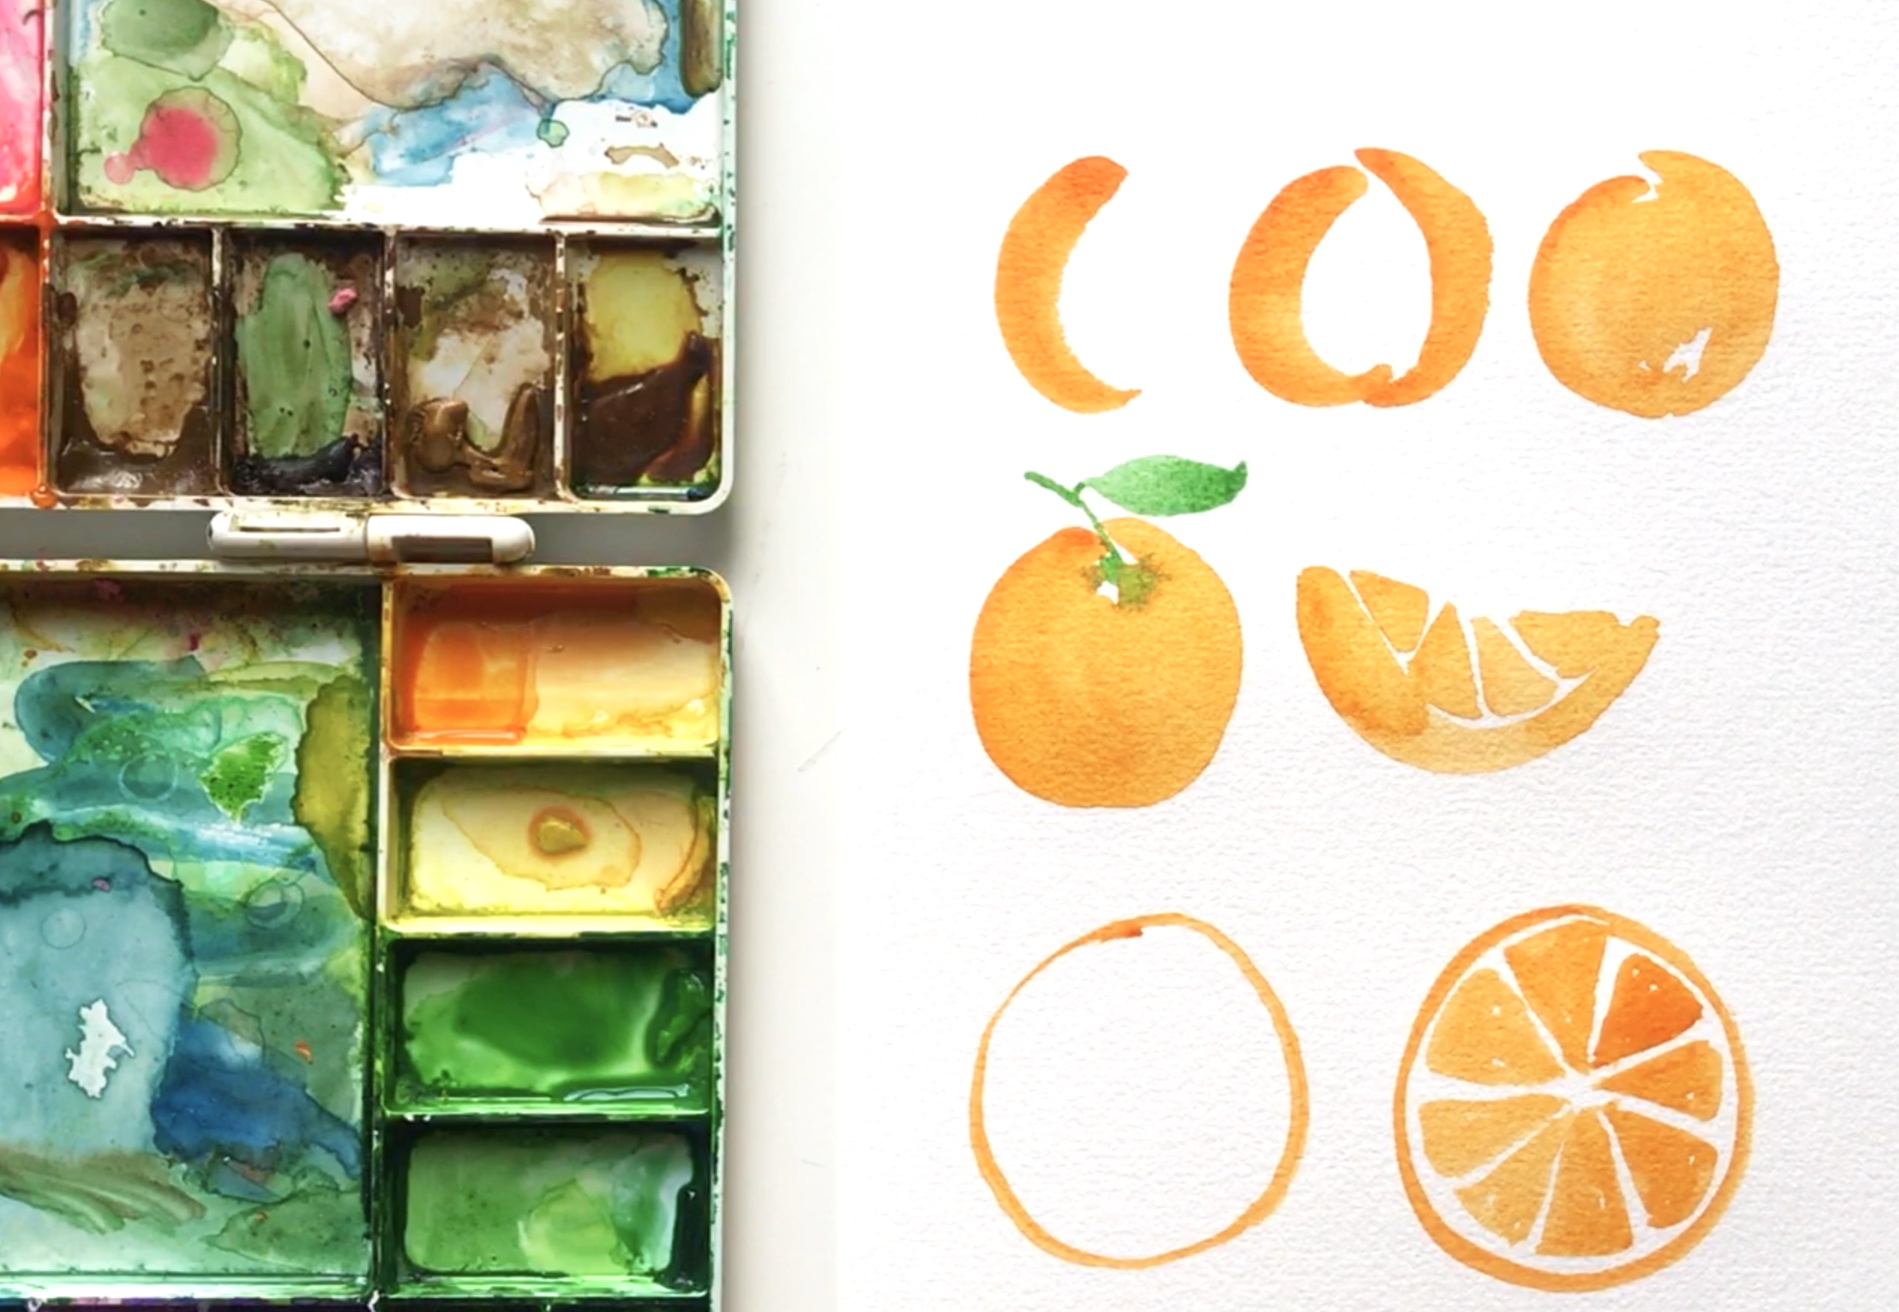
Shapes. One pointed tip round brush can create a lot of different shapes. As I mentioned, all of the lessons I painted were done with the same brush and I ended up with triangles, circles, dots and swashes.
Don’t Aim for Perfect. Have fun and don’t expect things to be perfect. Obviously as a beginner I should know this from common sense but I still always have an idea in my mind that I wish I could execute. However, experimenting with blending, colors, different amounts of water, shapes, etc. is fun and is all I need to worry about right now.
If you haven’t tried watercolor but want to, I recommend Yao’s class to get started or any other class / tutorial available on YouTube or Skillshare. I think you'll like it! (link below)