


Wreaths! I am so glad I came across Surely Simple's Instagram account the other day because it inspired me to turn the floral motifs I sketch into wreaths. Pen and ink wreaths. It's an addicting activity and believe me when I say they look more intricate and difficult to draw than they actually are. The process is a lot of fun and I'm going to show you how to make one because I think you'll enjoy it!
What you'll need:
• Paper
• Pen (I use micron pens but any will do)
• Pencil
• Something round for tracing
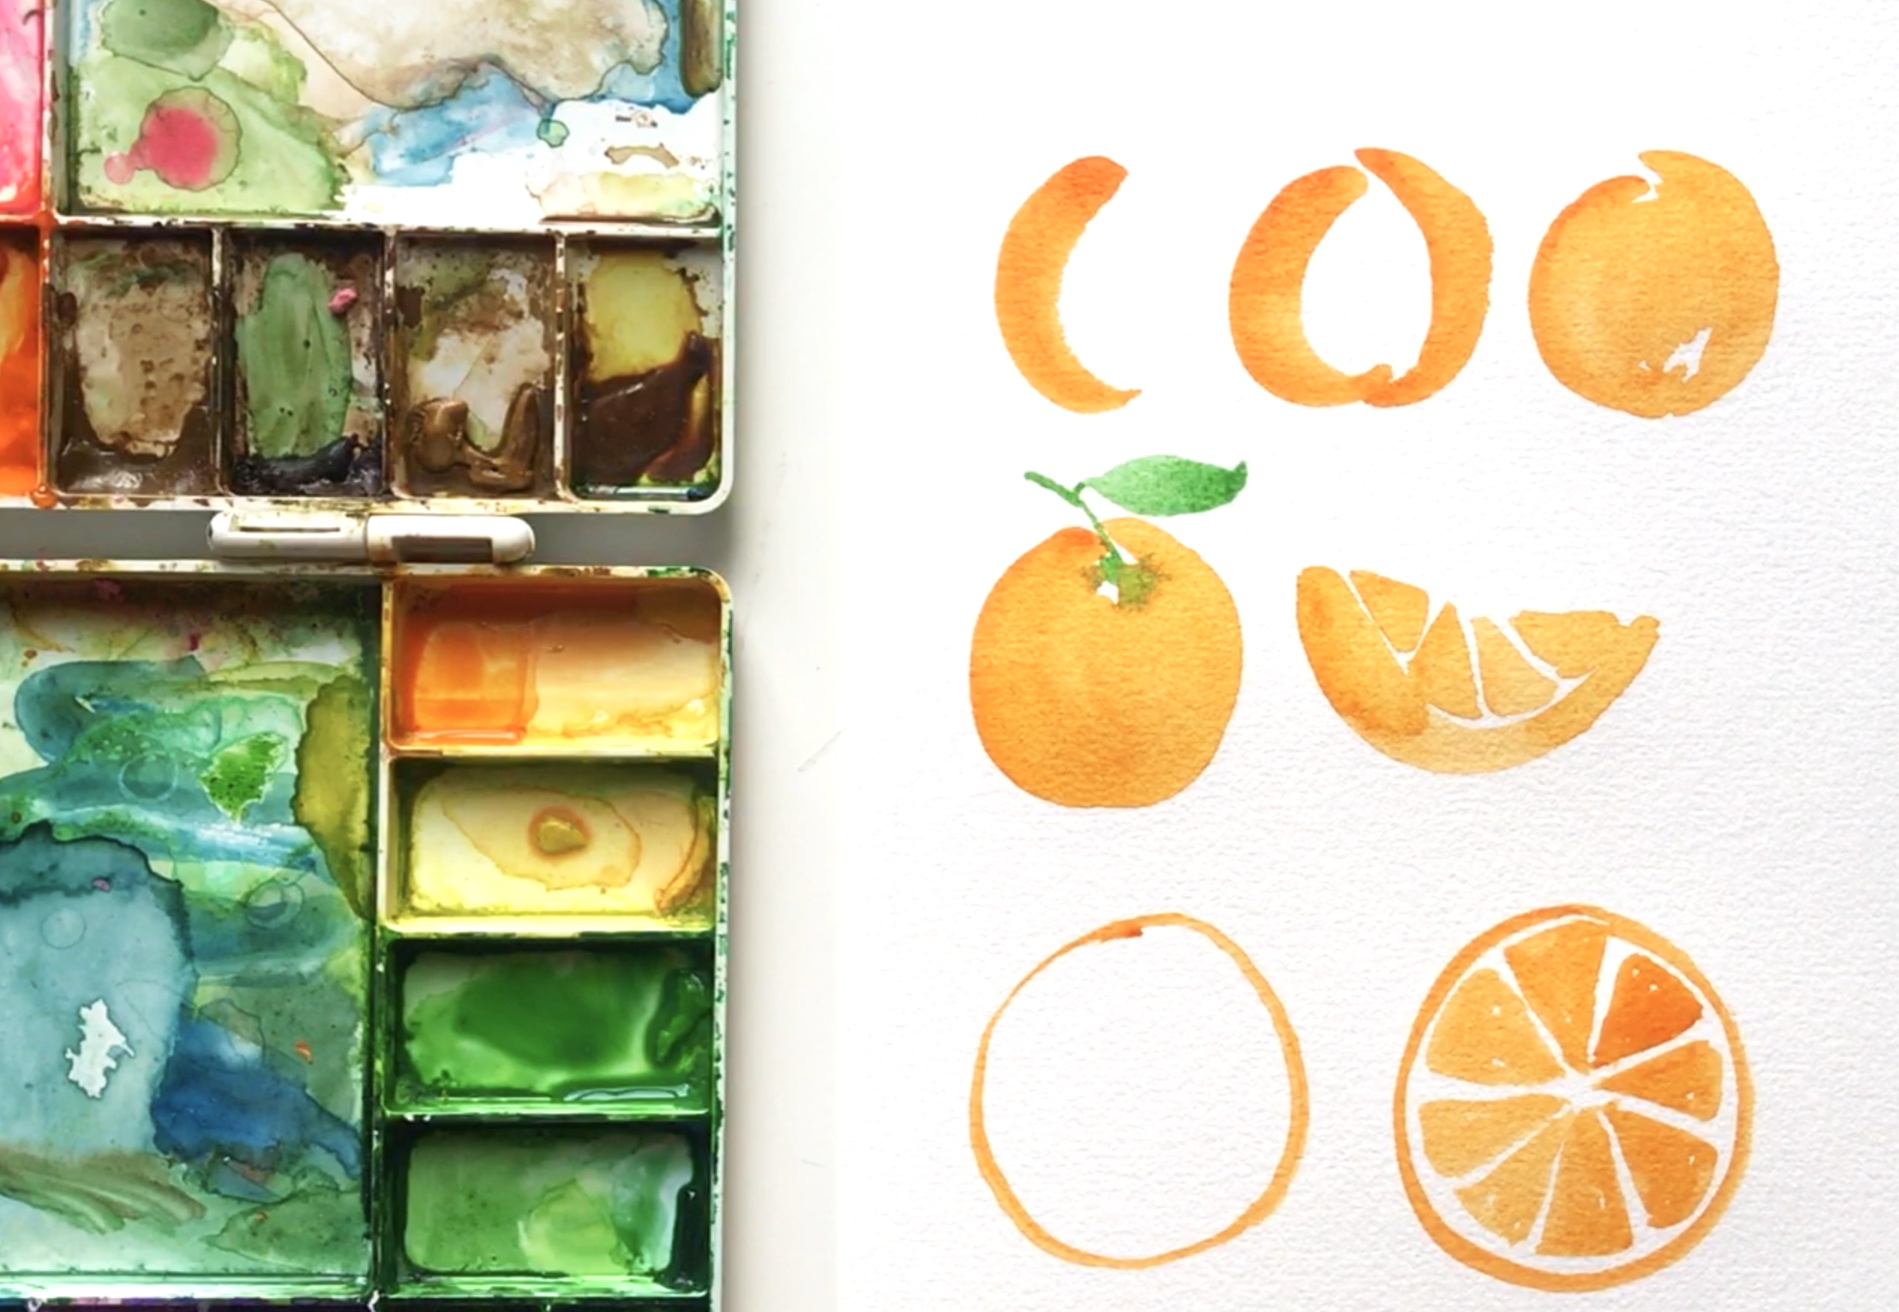
Start by sketching a few leaves and flowers which will give you something to reference as you create your wreath. I like to have motifs readily available to pull from so I don't have to overthink (which I'm prone to do). It also helps me move a little faster because I don't need to stop every few leaves to figure out what other elements I should add.

Next, use a pencil to trace a round item such as a mug, jar, or whatever you have on hand.
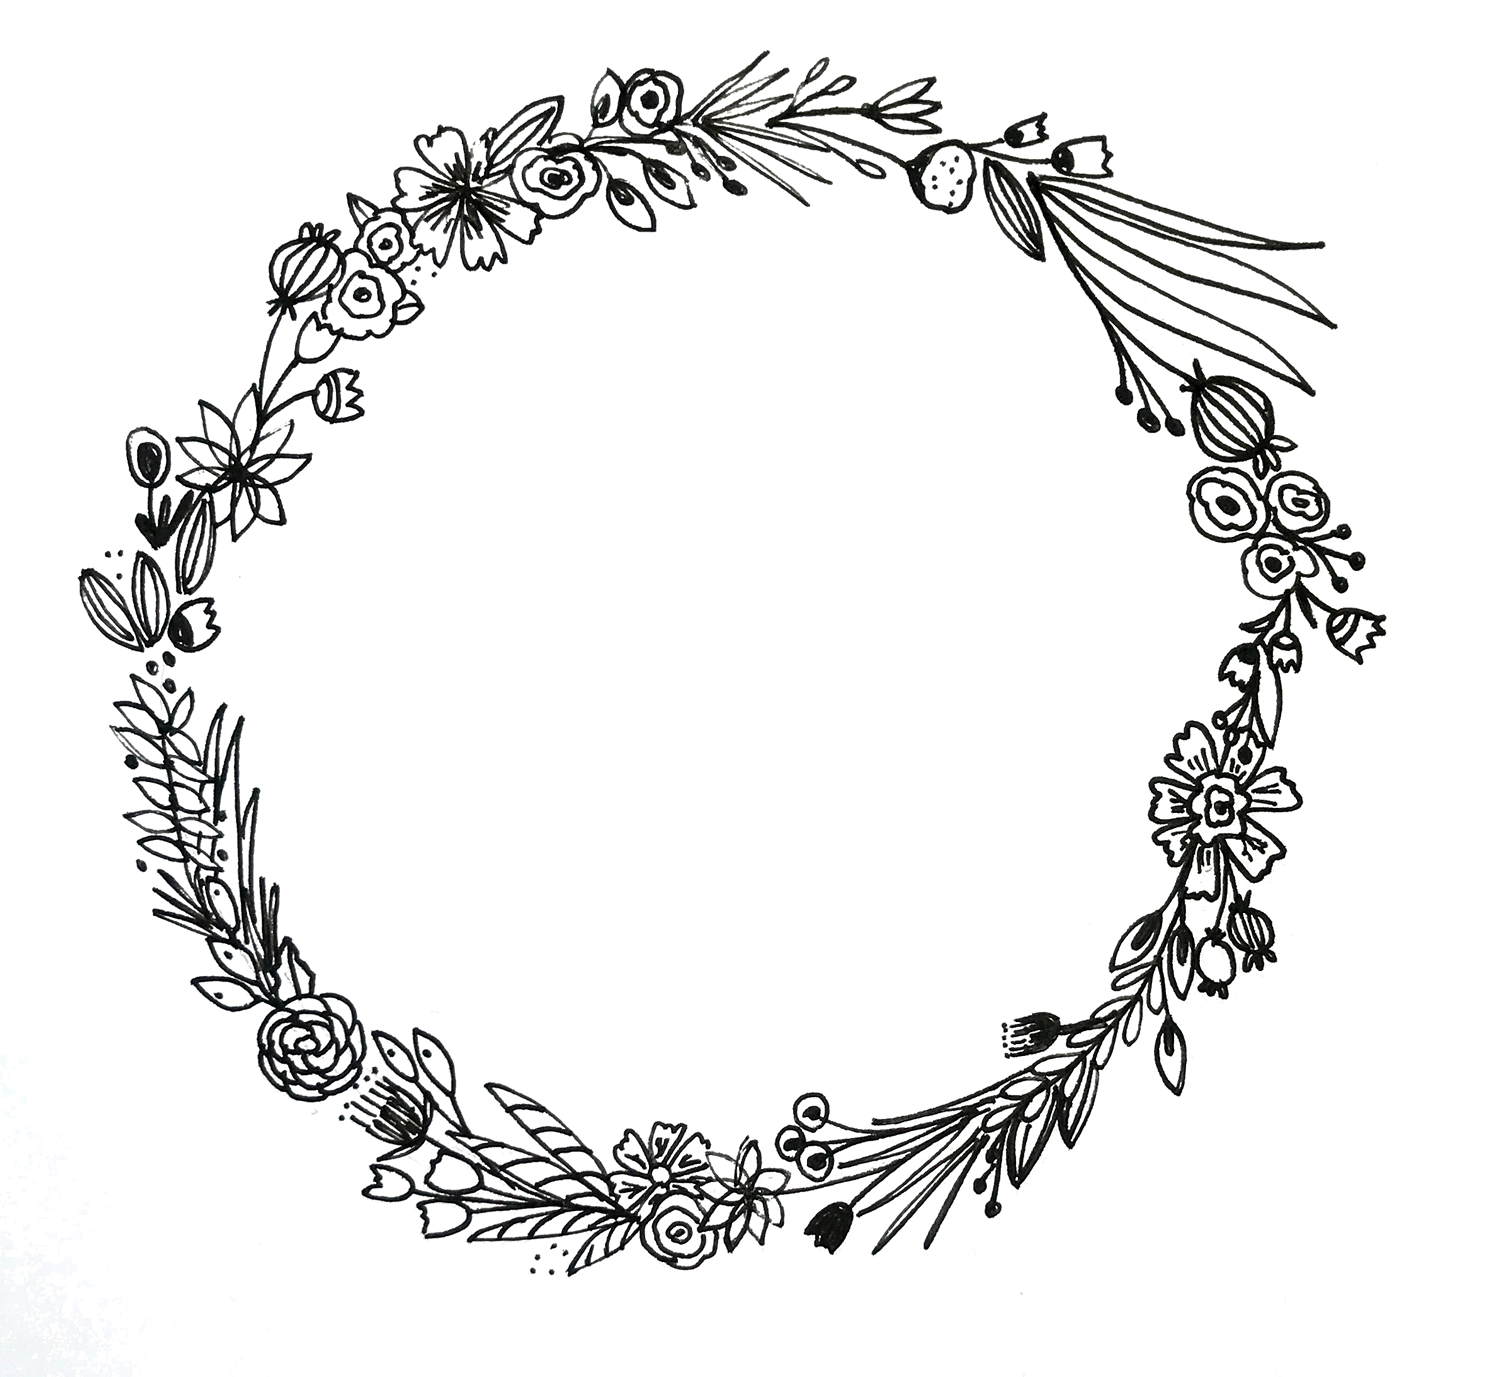
Now use your pen and start drawing!
Start slowly and draw each motif, one by one. Try not to overthink (like I did my first few times) and instead, use your reference page to pull items and go around the ring. You can always fill in blank areas with dots or small leaves or florals after you fill the wreath once. If you're like me, you'll analyze your wreath like crazy so go ahead and take the time to learn from your first couple attempts and you'll keep getting better...I'm sure of it! Consider the following:
Spacing - Is there an area of the wreath where you have a bunch of motifs tight and squished together and other areas that are more sparse? Consider working on the spacing of your elements.
Balance - Mix the bold elements with the more delicate elements and consider the size of each motif. If some are extra large and others are small, make sure the large elements are dispersed around the wreath so it doesn't feel extra "heavy" in one area, making it seem off-balanced.
Visual Interest - do you have too many of the same elements in one section of the wreath? Is there variation between your motifs? Sometimes using all the same elements looks amazing and is just what you're going for, but make sure it looks intentional and that you try a mixture of shapes and angles around the wreath to keep the eye from settling on one overwhelming area.
Have fun!
Links
A 45-second video of me drawing a floral wreath
Surely Simple's Instagram