My Work: 10-Day Project Review

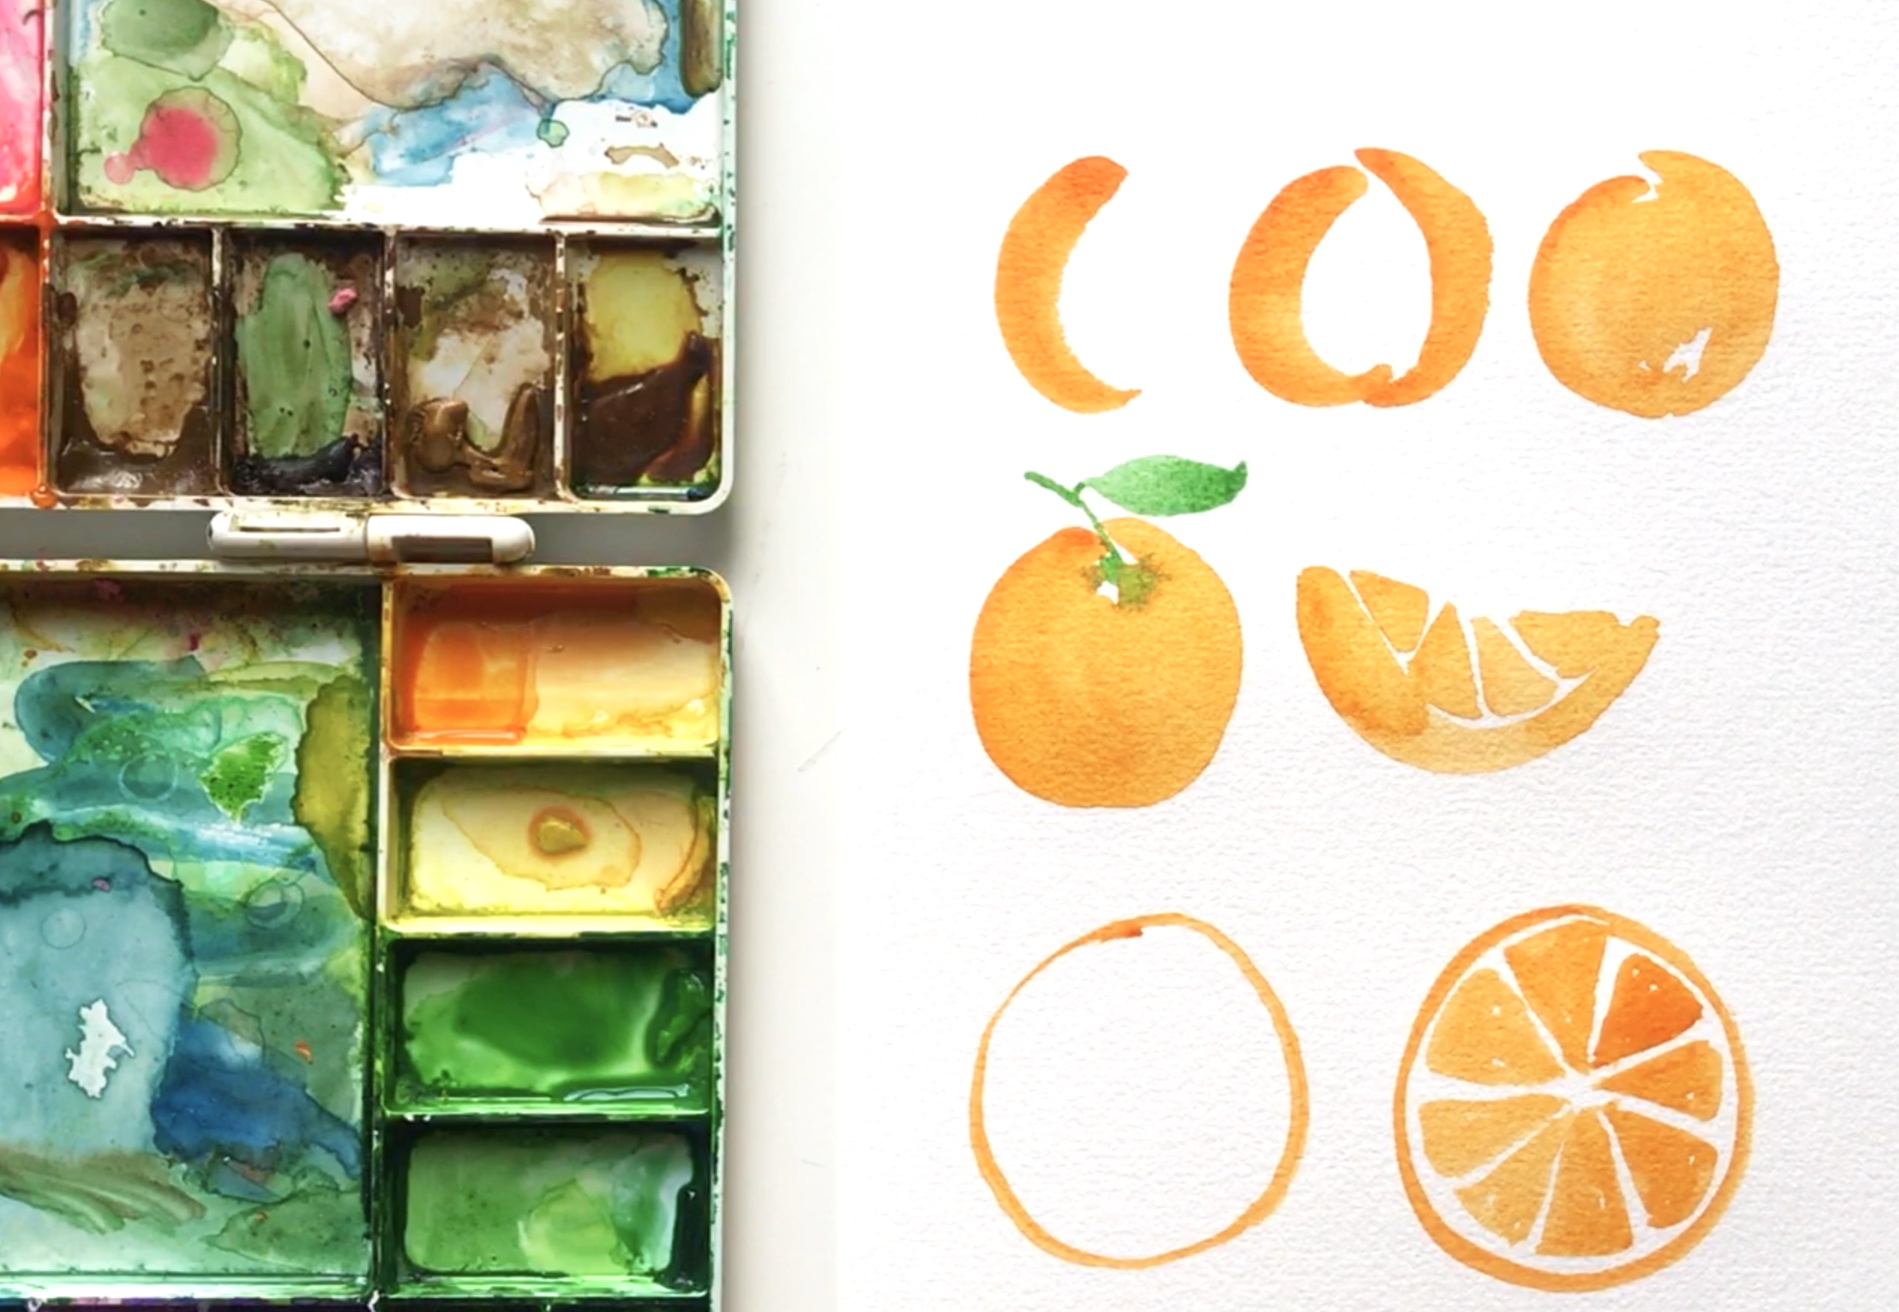
If you follow me on Instagram, you may have noticed I do a new 10-day project about every 10-days. I started these last December to help me focus on one type of art or theme and hopefully not only improve my skills, but also figure out what the type of art I truly enjoy. I'm ultimately working towards developing a "signature style" but have found I like so many things, it may take years to actually figure out! 

Delighted Creative Co. 10-Day-Project Review • delightedco.com

But maybe that's okay...and it's probably normal. Since I have no deadline for learning to draw and paint, I'm enjoying the process. One thing these 10-day projects have made me realize is that I truly enjoy working with watercolor and I especially love creating patterns with what I paint.

So now that I've completed 10 of these 10-day projects, I thought I'd share some of my favorite from the first five weeks for now. Side note: I'm taking a break from these 10-day projects to join the #100dayproject challenge (yikes!). It started yesterday, April 4 and lasts until July. I will do a hundred days of watercolor (#100daysofwatercolor and #100delighteddays) which means I have some flexibility with the subject, but am limited by the medium...although I think I'll sneak in some gouache as well. It's water-based so I think that's okay :) 

So here they are : the highlights of my first five 10-day projects. Thank you for following along over the past few months and for all of the encouragement. I truly appreciate it!

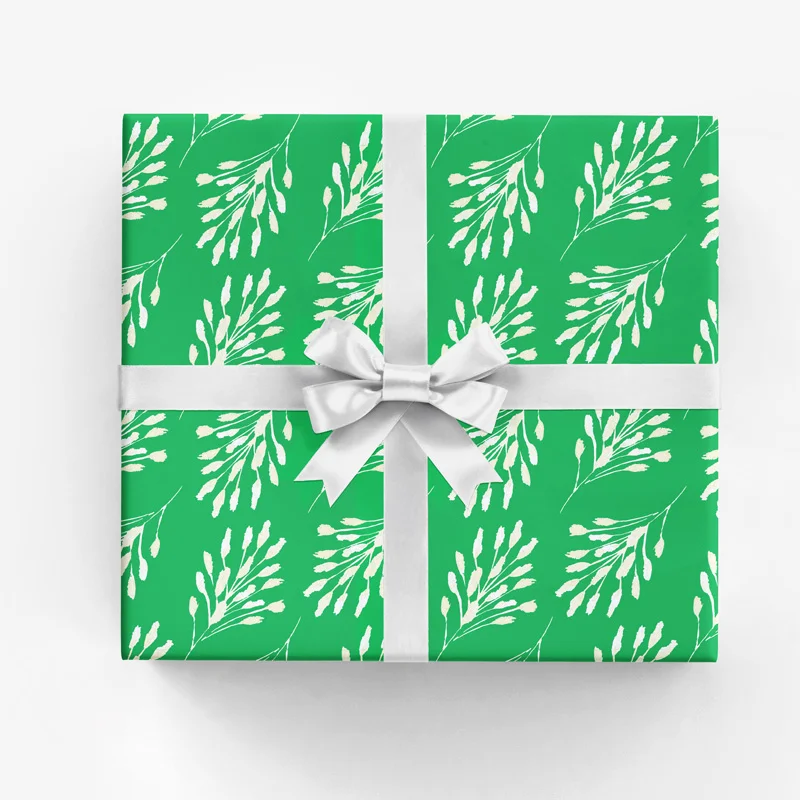
Week 1: Patterns created from gouache and watercolor sketches

Week 2: Things to Wear

Fall Outfit Illustration by Amanda Gomes • delightedco.com
Purple ballet illustrations by Amanda Gomes • Delighted Creative Co.

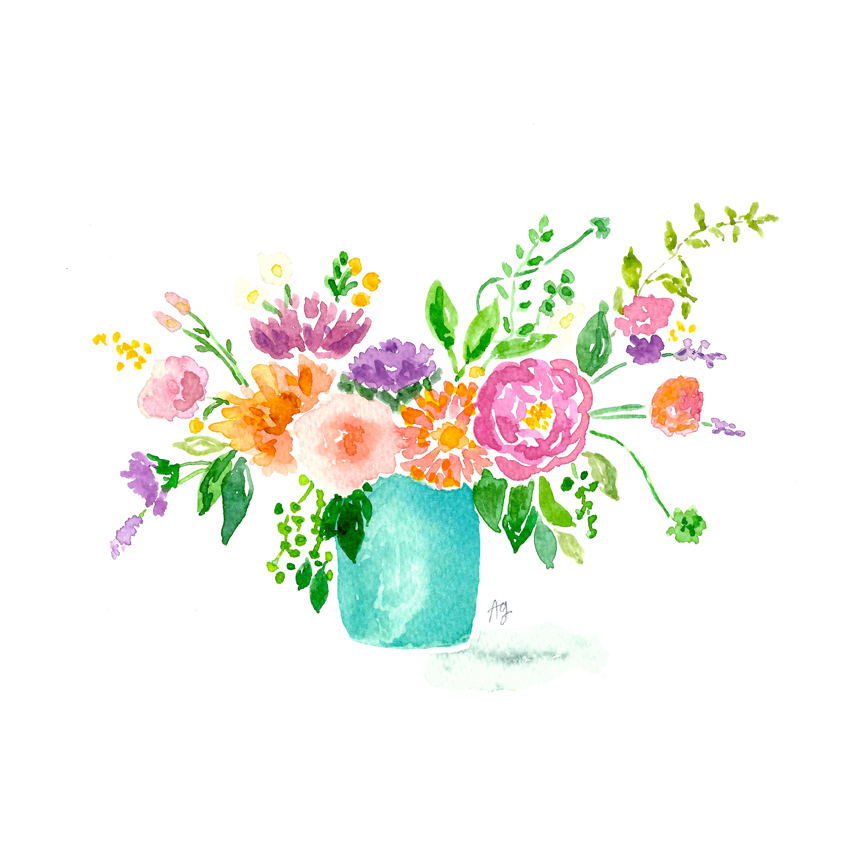
Week 3: Florals

Week 4: Lettering

Week 5: Creatures
How to Draw a Wreath

Wreaths! I am so glad I came across Surely Simple's Instagram account the other day because it inspired me to turn the floral motifs I sketch into wreaths. Pen and ink wreaths. It's an addicting activity and believe me when I say they look more intricate and difficult to draw than they actually are. The process is a lot of fun and I'm going to show you how to make one because I think you'll enjoy it!

How to draw a floral wreath...super easy and fun! Via delightedco.com

What you'll need:
• Paper
• Pen (I use micron pens but any will do)
• Pencil
• Something round for tracing

Start by sketching a few leaves and flowers which will give you something to reference as you create your wreath. I like to have motifs readily available to pull from so I don't have to overthink (which I'm prone to do). It also helps me move a little faster because I don't need to stop every few leaves to figure out what other elements I should add.

Learn to draw a floral wreath...super easy and fun! Via delightedco.com

Next, use a pencil to trace a round item such as a mug, jar, or whatever you have on hand.

Now use your pen and start drawing!

Start slowly and draw each motif, one by one. Try not to overthink (like I did my first few times) and instead, use your reference page to pull items and go around the ring. You can always fill in blank areas with dots or small leaves or florals after you fill the wreath once. If you're like me, you'll analyze your wreath like crazy so go ahead and take the time to learn from your first couple attempts and you'll keep getting better...I'm sure of it! Consider the following:

Spacing - Is there an area of the wreath where you have a bunch of motifs tight and squished together and other areas that are more sparse? Consider working on the spacing of your elements.

Balance - Mix the bold elements with the more delicate elements and consider the size of each motif. If some are extra large and others are small, make sure the large elements are dispersed around the wreath so it doesn't feel extra "heavy" in one area, making it seem off-balanced.

Visual Interest - do you have too many of the same elements in one section of the wreath? Is there variation between your motifs? Sometimes using all the same elements looks amazing and is just what you're going for, but make sure it looks intentional and that you try a mixture of shapes and angles around the wreath to keep the eye from settling on one overwhelming area.

How to draw a floral wreath...super easy and fun! Via delightedco.com

Have fun!

Links
A 45-second video of me drawing a floral wreath
Surely Simple's Instagram

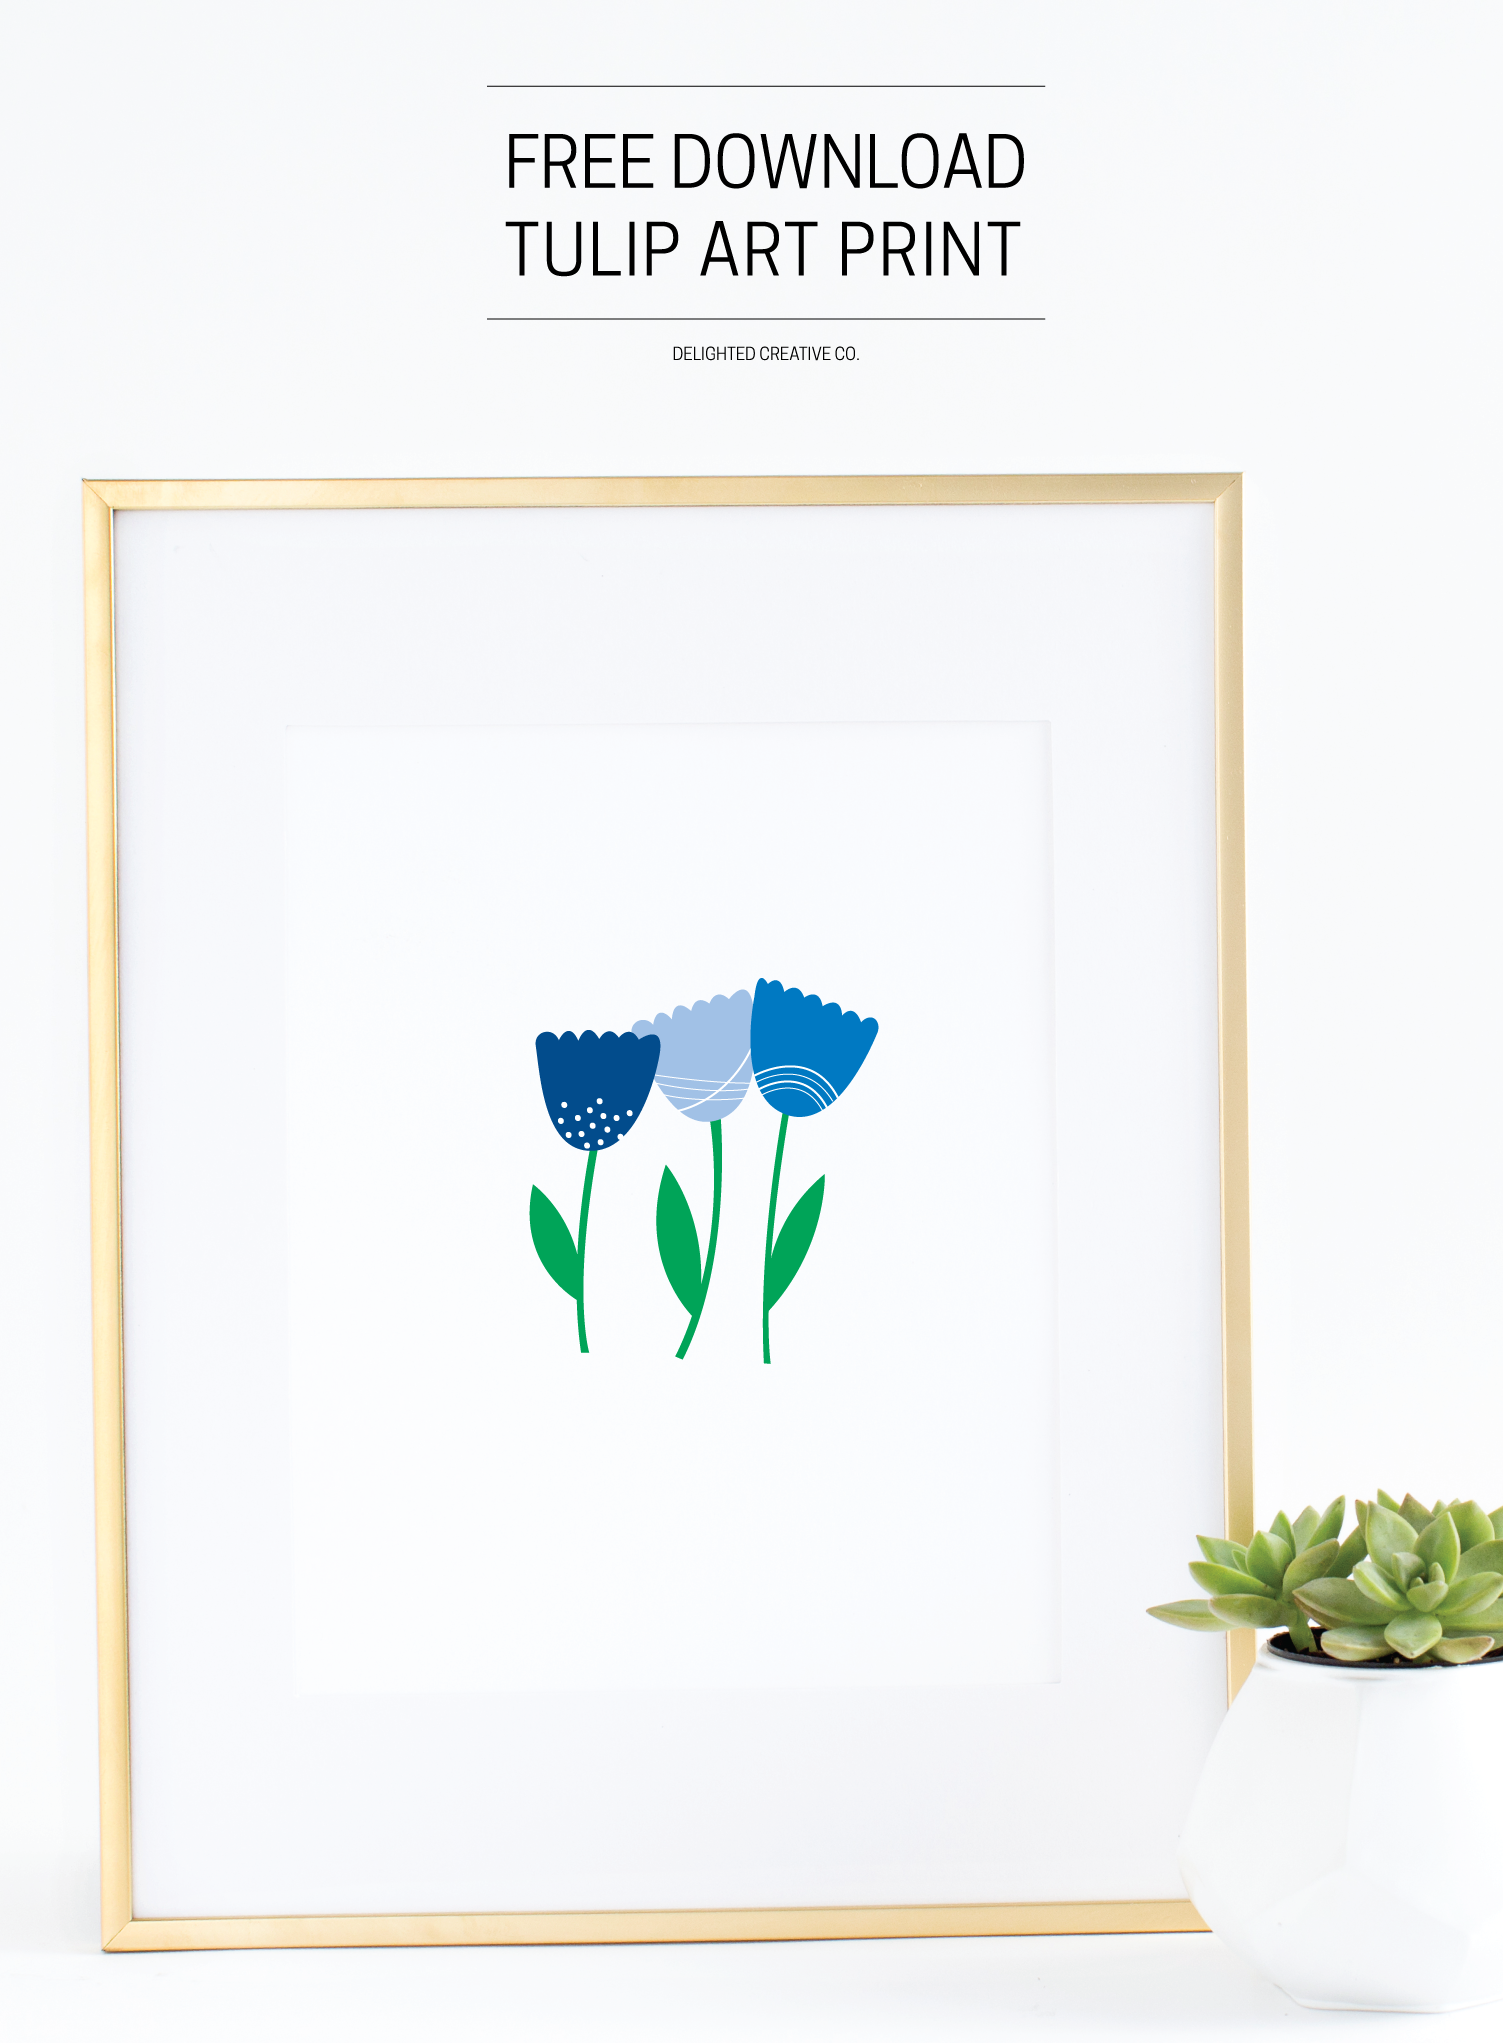
Free Download: Tulip Art Print

Another Friday, another download. This week I have an art print for you in two colorways: blues and oranges. Tulips are my mom's favorite flower so I have a soft spot in my heart for them and think this simple version is something she will enjoy...and I hope you do too!

Free Download: Tulip Art Print | Amanda Gomes • Delighted Creative Co.

I recommend printing on 8.5x11-inch card stock and then trimming to fit into an 8x10-inch frame or a 5x7 frame...whatever is best for your space. Enter your email address below and download your PDFs. Easy peasy.


What I'm Learning: Drawing Pens

When you follow artists on Instagram or YouTube, or take online workshops from creatives, you'll see there are a few brands of pens recommended over and over again. I regularly hear about Microns, Uni, and Faber-Castell.

Drawing Tools: Micron Pens | Delighted Creative Co.

While every artist has their preference, I've been using the Micron Pens because it's what I have on hand—and so far I haven't had a reason to try another brand. They come in a variety of sizes, feel comfortable in my hand and make smooth lines. Maybe as they start drying out I will give another brand a try, just to compare.

I have the following sizes which came together in one pack: 005, 01, 02, 03, 05, 08, 1, and Brush.

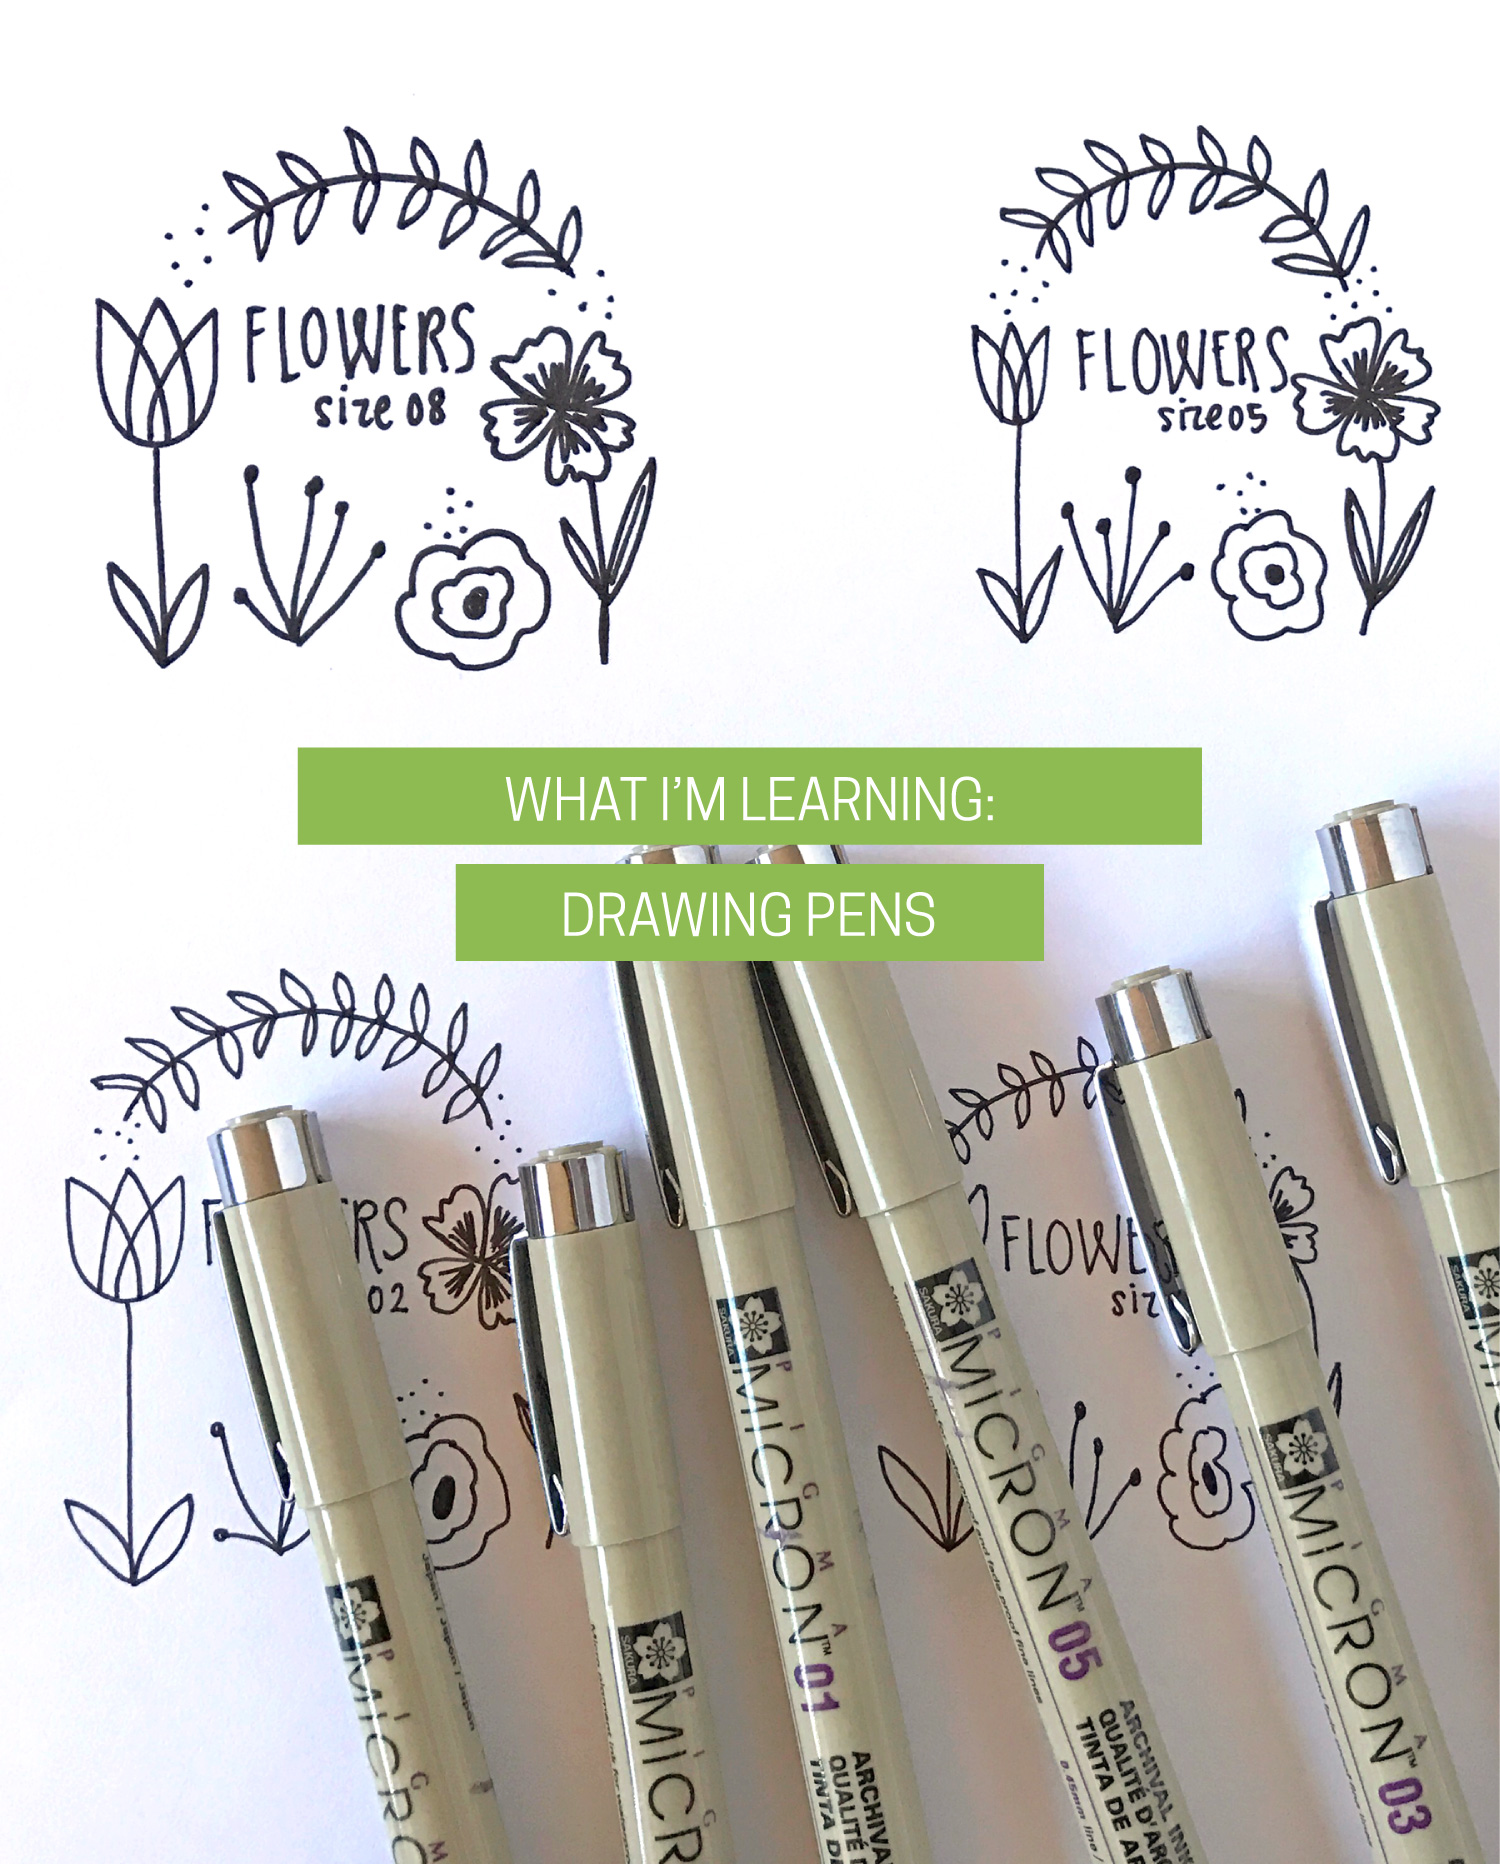
The recommendation Lisa Congdon gives in her line art class on Creativebug is to start with a larger tip for more control as you're learning: size 08 or 05. Each size can each be used for different things: 01 for small details, 08 for filling in areas that need to be fully black, etc. but lately I've been gravitating towards the thinner tips when I sit down to draw. There's a daintiness and simplicity the thinner tips give that I like...at least for now :)

Micron Pen Comparison | Delighted Creative Co.

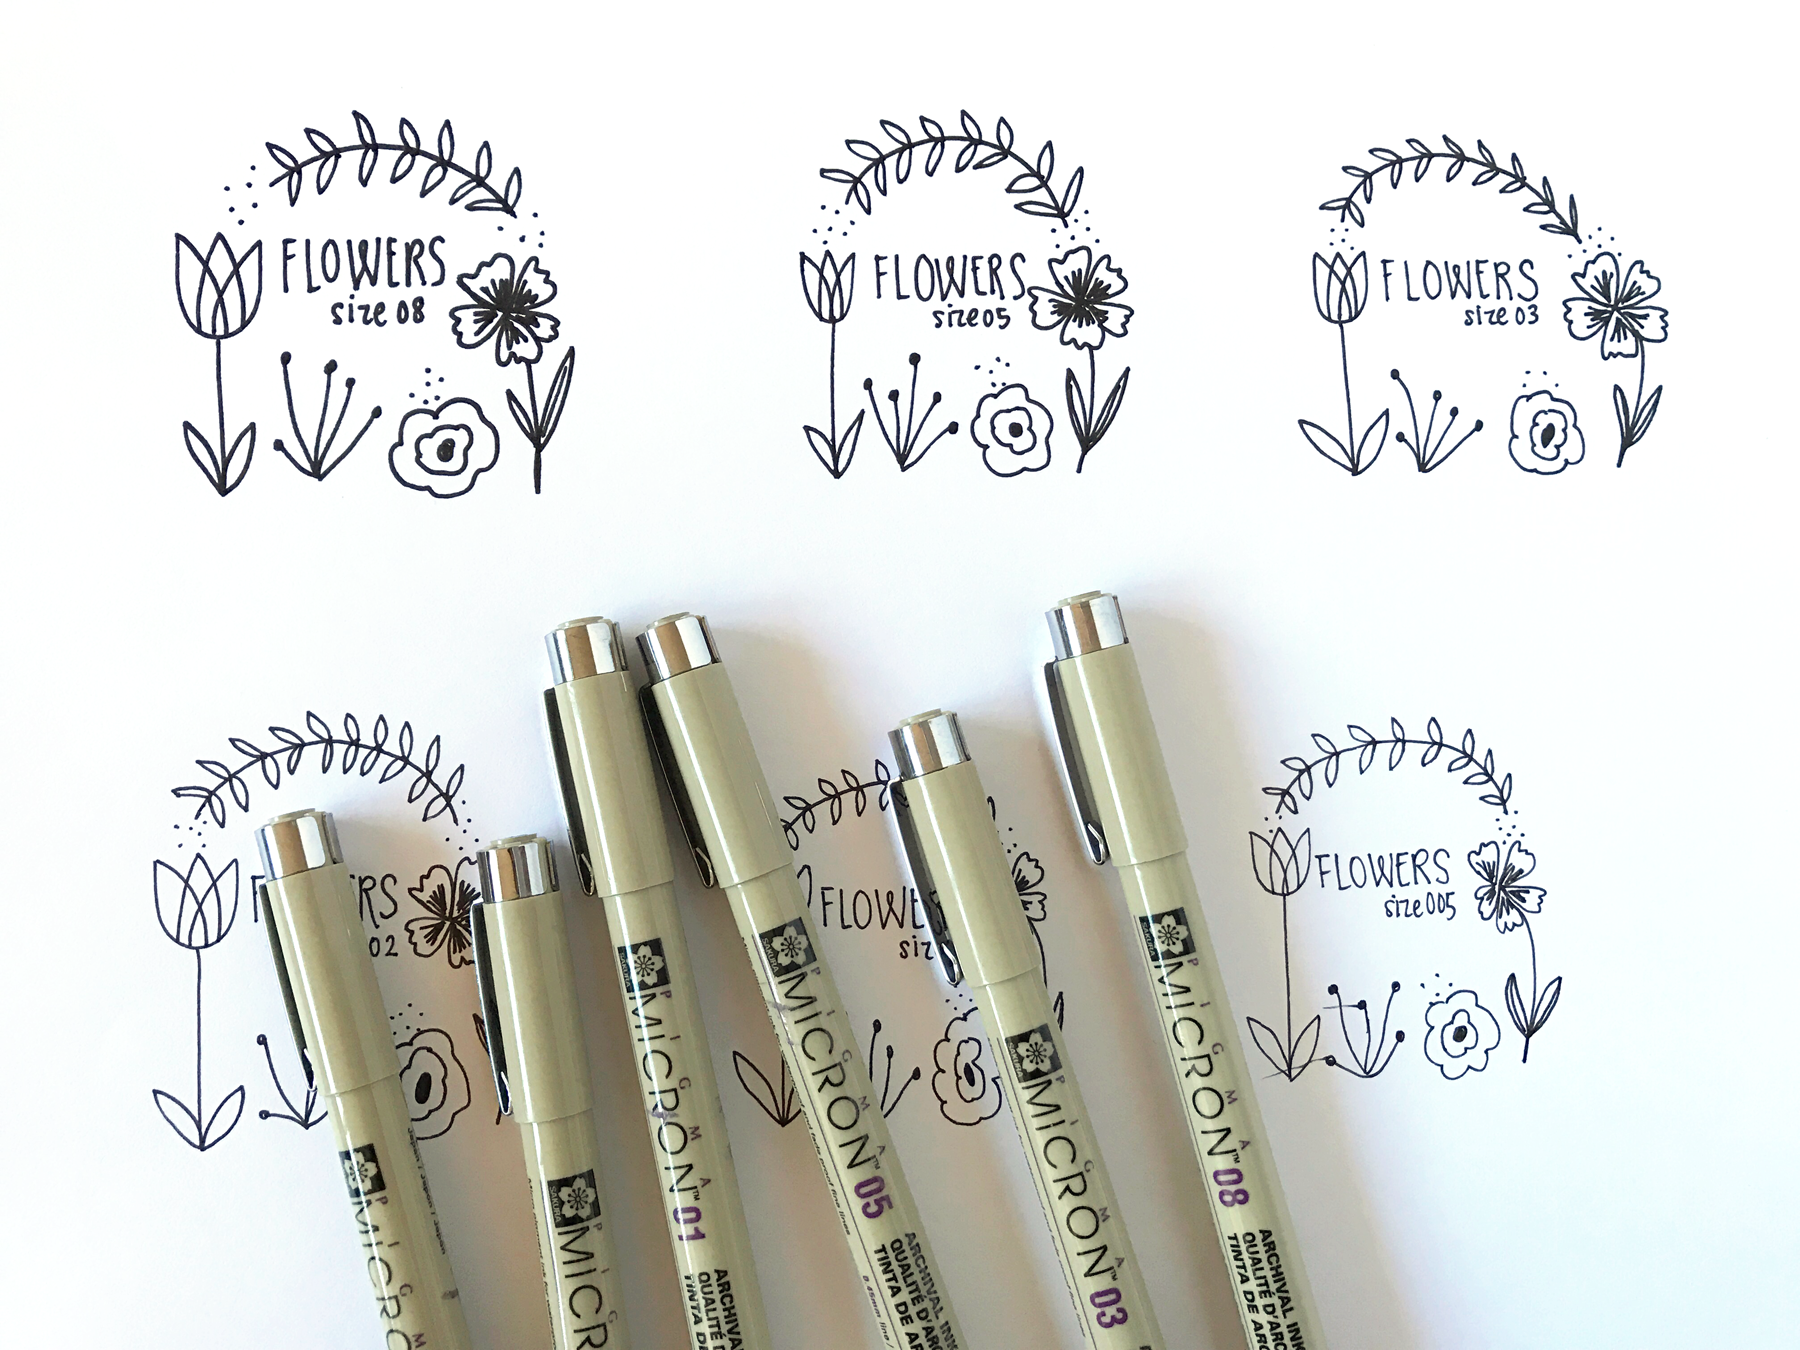
For comparison purposes, here is a similar drawing using six different pen tip sizes (005 is smallest, 08 is thickest):

Micron Pen Comparison | Delighted Creative Co.

Watercolor Practice: Florals

I would love to be able to paint florals. Pretty, detailed florals. But my beginning watercolor classes just don't teach florals...I still have lots to learn. But since I'm a little impatient, I made an attempt to paint flowers without any tutorial...and here is the result.

Trying out watercolor florals. | delightedco.com

They're not that beautiful, but they do resemble flowers so I'm happy about that, for now :) 

Brush: size 8 (I think! Forgot to make a note of it)
Watercolors: Winsor & Newton Cotman Pan Set

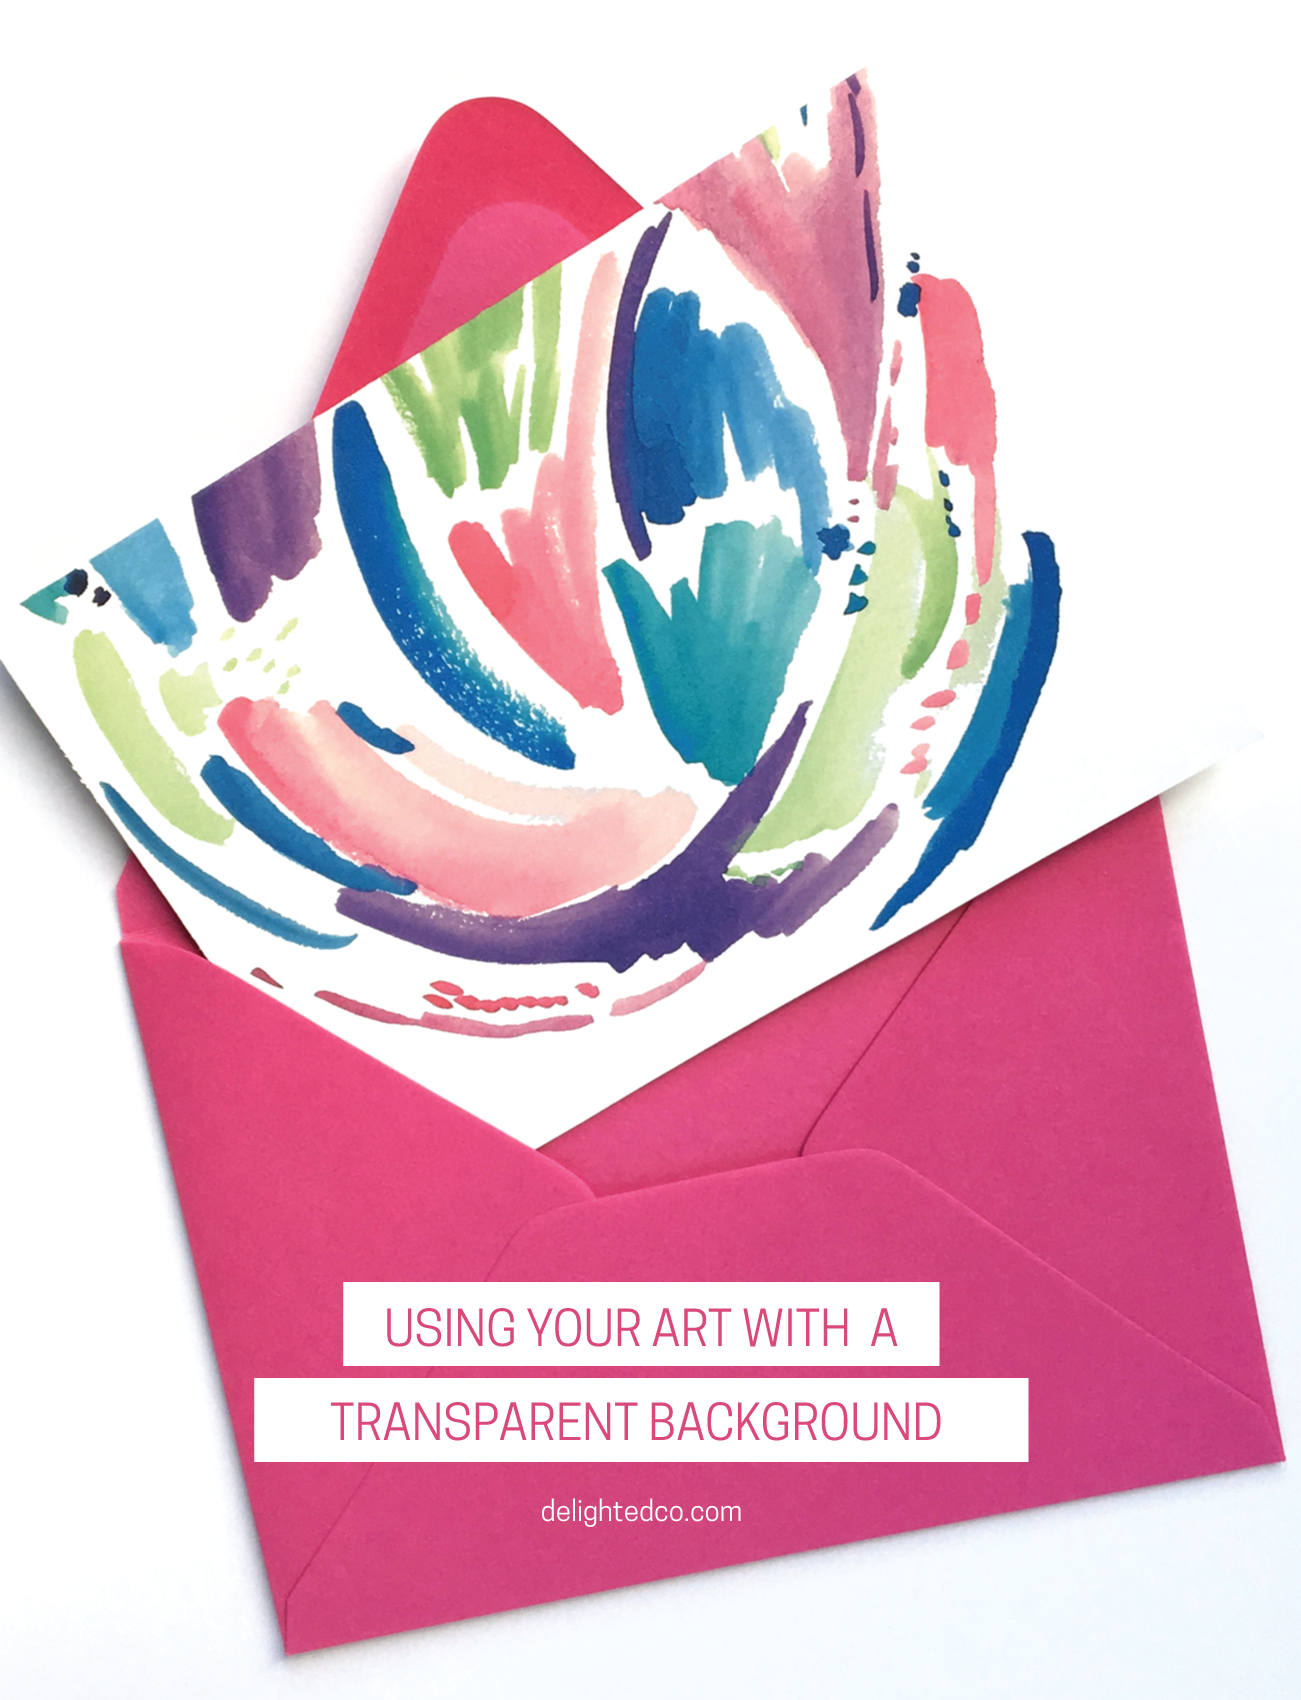
Ideas for Using Your Artwork with a Transparent Background

Last week I showed you how to bring your artwork into Photoshop and give it a transparent background. This week I want to give you a few ideas for using your artwork in Illustrator once you've removed the background.

Using Artwork With a Transparent Background in Illustrator • Delighted Creative Co.

You can:

1  •  Make a Note Card
2  •  Layer Your Art Over a Photo
3  •  Add a Block of Color Behind Your Artwork
4  •  Make a Repeating Pattern

Have fun!